Front Porch Topiary
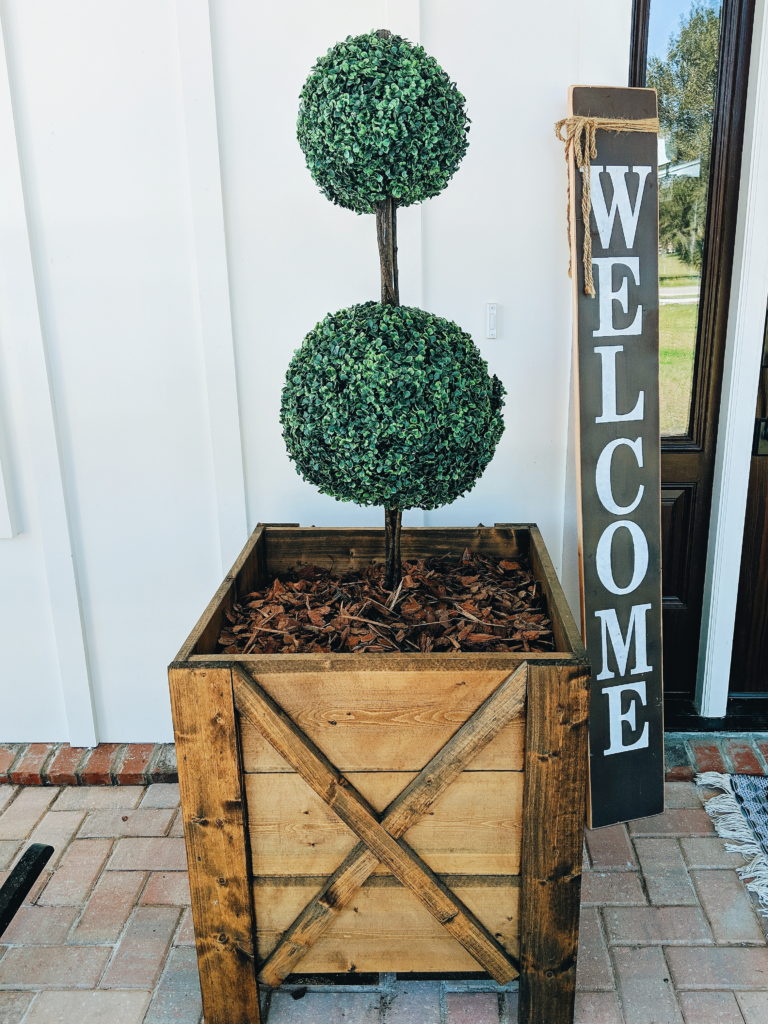
I have been on the hunt for some faux topiaries for our front porch to fill our wooden planters with. I quickly realized how pricey they are especially when you need two! I found these which I loved, but was determined to find a cheaper way to make them at home! So I decided to use them as my inspiration and put my DIY skills to the test.
Unfortunately, just plain topiary balls are also expensive, but I was still able to save a significant amount of money. Now, depending on where you are putting your topiary you can totally tailor the size of the topiary balls you will need. I had to go larger as we have large planters as well as a large front door. I used 2- 14″ topiary balls for the bottom and 2-10″ topiary balls for the top. I looked everywhere for a cheap one that large and could only find it here (not an affiliate). Before you get super excited on the price, this website also charged a ton in shipping prices, but the total was still cheaper than other online sources. If you are planning doing much smaller topiaries, I did find affordable 11″ ones here for a set of two which you could use as your larger ones and use these as your smaller ones to save more money. So, again depending on the size that will work for you, the price will vary. For my 2 large topiaries the price came out to be just about $50/topiary which I was still happy about!
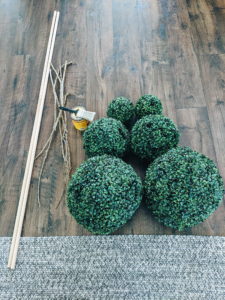
Here are the supplies you will need:
- 2 – 14″ topiary balls. See above for size adjustments and appropriate links. Ignore the extra topiary balls in the photo above, originally I planned to do three but I liked two better!
- 2 – 10″ topiary balls
- 2 – 1.5″ wide wooden dowels. Length will depend on how you tall you want your topiaries.
- Stain
- Paintbrush
- Hot Glue Gun – I recommend this one if you need a new one.
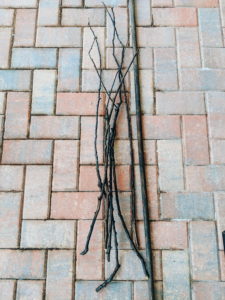
- Sticks – I gathered up 6 longer sticks from our yard that will function as the “vines.” I used a knife to whittle off the little twigs along the sides so they were nice and smooth.
- Floral Wire
- Foam Blocks to help add support. I used these ones here.
First step was staining the wooden dowels and the sticks. I just used some old stain we had in our garage, again trying to avoid any extra costs.
After the stain had dried, I threaded the wooden dowels through the topiary balls. I kept about 5 inches between the two balls, but depending on the size of your balls see what looks bests. The tape you see in the pictures was just a marker for me on the spacing. The topiary balls are hollow with square plastic meshing, so the dowels fit perfectly through them. If the topiary balls start to slide when placed upright, you can use your hot glue gun to glue it to the dowel.
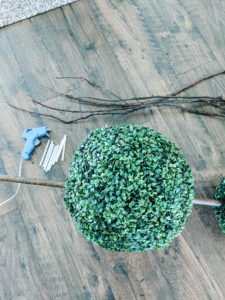
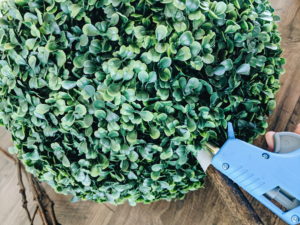
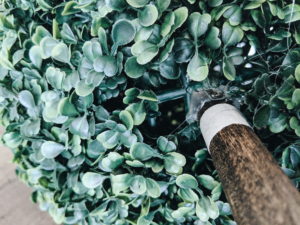
The next step will be breaking your sticks into pieces a little bit longer than the space between the topiary balls. Start at the widest part of the sticks, these will go below the lower topiary ball. I used 3 pieces of sticks for each section. You will weave them up into the topiary ball. Take your floral wire and wrap it around the sticks and dowel to secure it at the base. Then move up to the space between the topiary balls. Use your floral wire to collect the sticks together at the top. You will arrange them so they look natural.
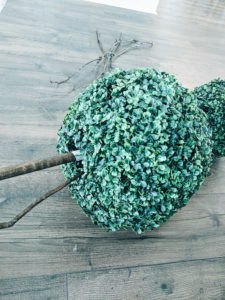
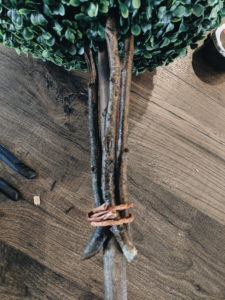
Next, you will take your topiaries and place them in the planter. You will place the wooden dowels in the foam cubes to stabilize them in the bottom. My husband even had the idea to use some old plastic bins we weren’t using and drilled a hold big enough for the dowel to fit through. Again, use whatever is on hand!
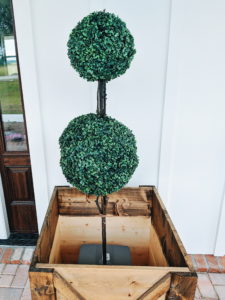
Yay, it is starting to look almost complete! Then depending on where you are planting it, fill up your planter with filler! Since we had large planters and I didn’t want to fill up the whole thing with wood chips we put a bunch of empty boxes in the bottom and covered a top layer with cedar wood chips.
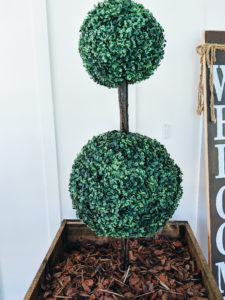
And voila! You have your beautiful DIY front porch topiaries! Hope you all enjoyed this tutorial and feel free to ask me any questions! Tag me on Instagram so I can see your own!
**Full Disclosure: Some of these are affiliate links, which means I may earn a small commission from purchases you make through these links (though it doesn’t affect the price you pay at all). All of these items are items I have purchased for my own home and recommend! Thanks for your help in keeping Remington Ranch up and running.


