One Comment
Comments are closed.
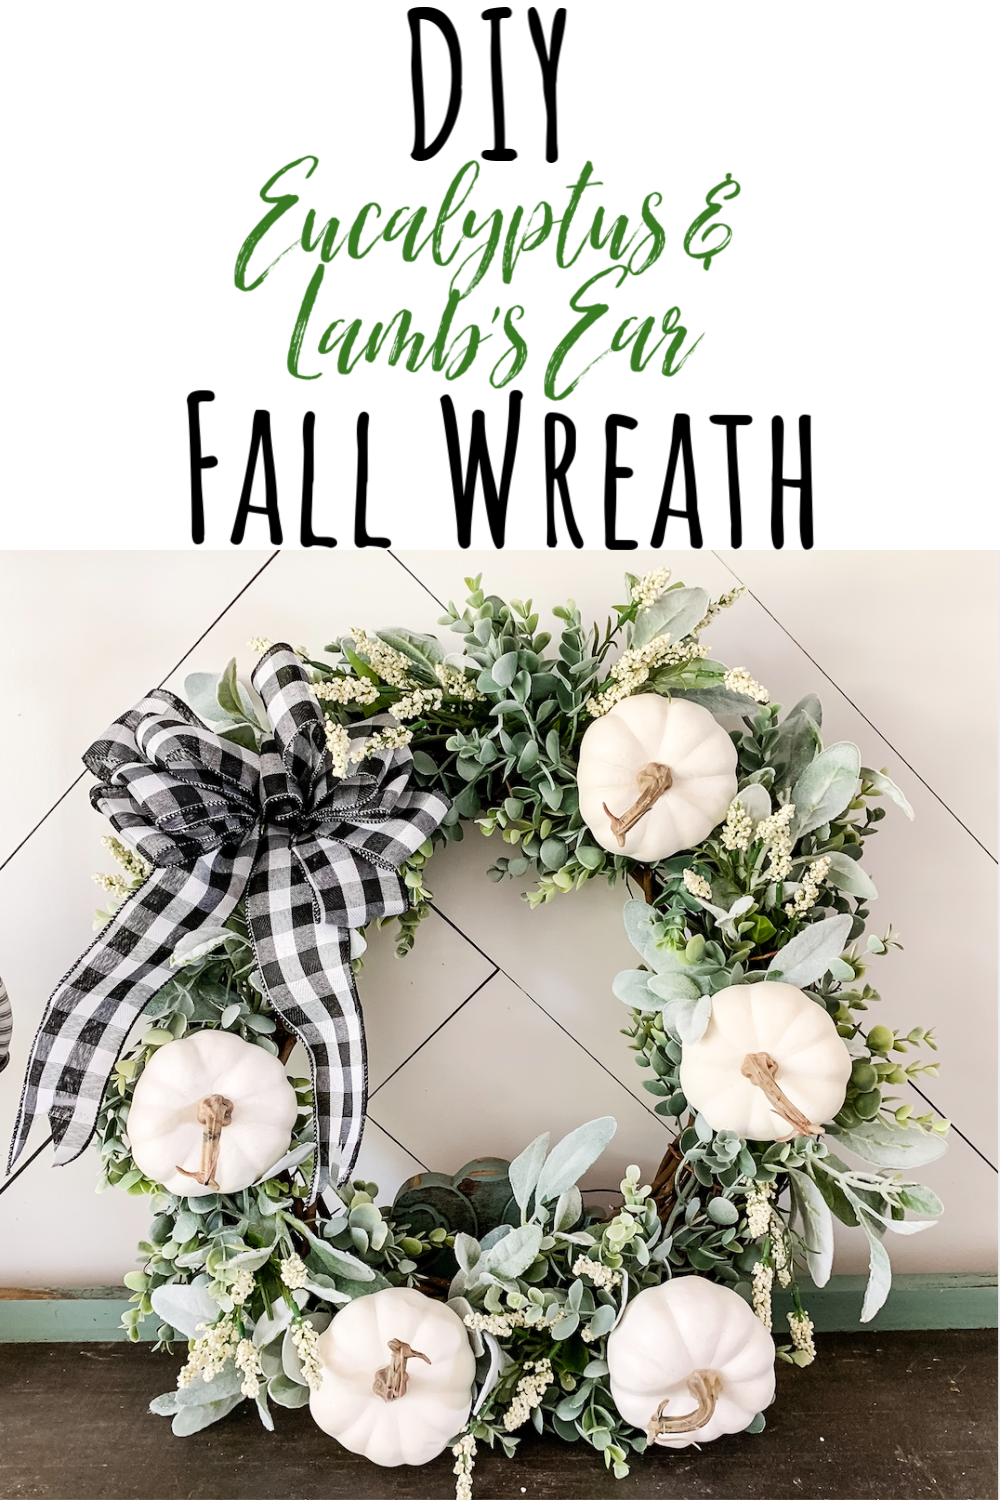
Cooler weather always gets me in the mood for some crafting! On the blog today, I’ll show you how to make this easy DIY fall wreath perfect for fall decor!
*This post contains affiliate links, thanks for your support in keeping Remington Ranch up and running!
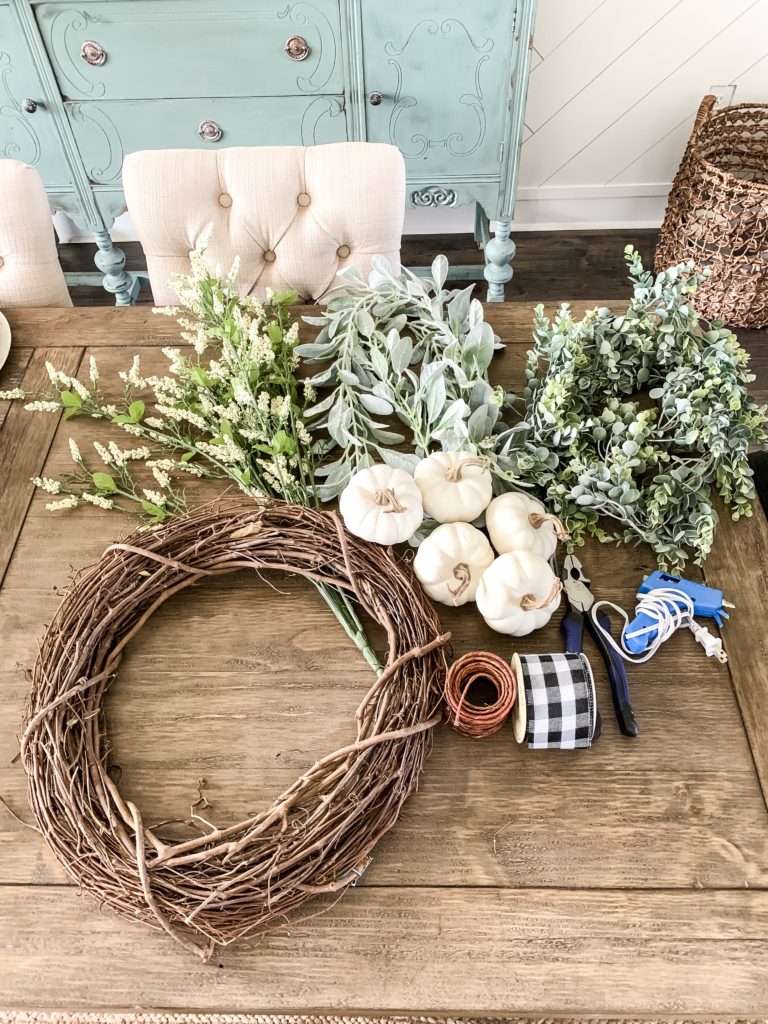
Here’s what you need to make your wreath:
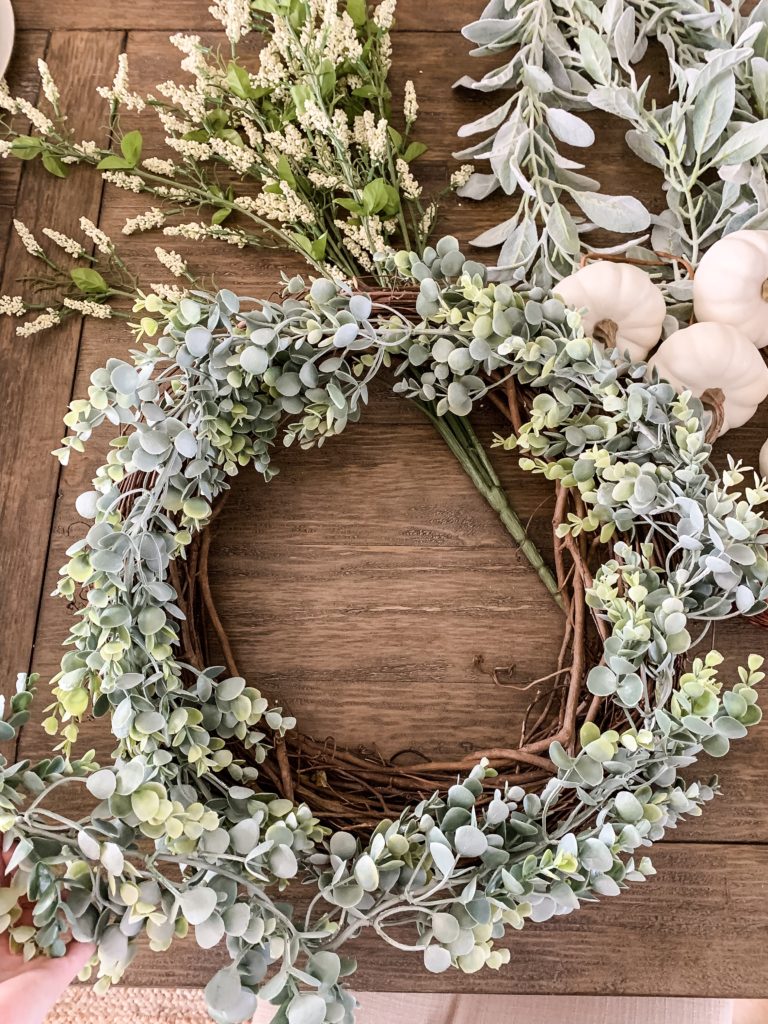
To start, you’ll take your eucalyptus garland and lay it on top of the wreath. Mine had some overhang, so I clipped it with the wire clippers. Save this piece if you need to fill in anywhere or to sprinkle around your home!
Take your floral wire. Using your wire cutters, cut six ~8″ strips. This is what you will use to secure your greens to the wreath.
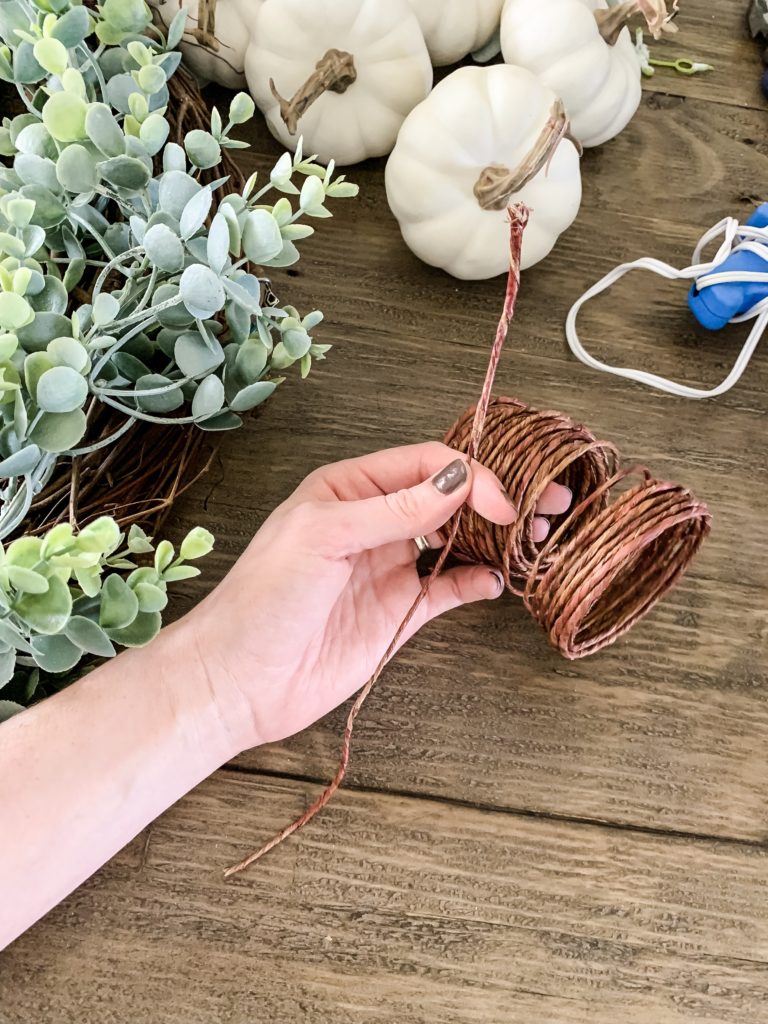
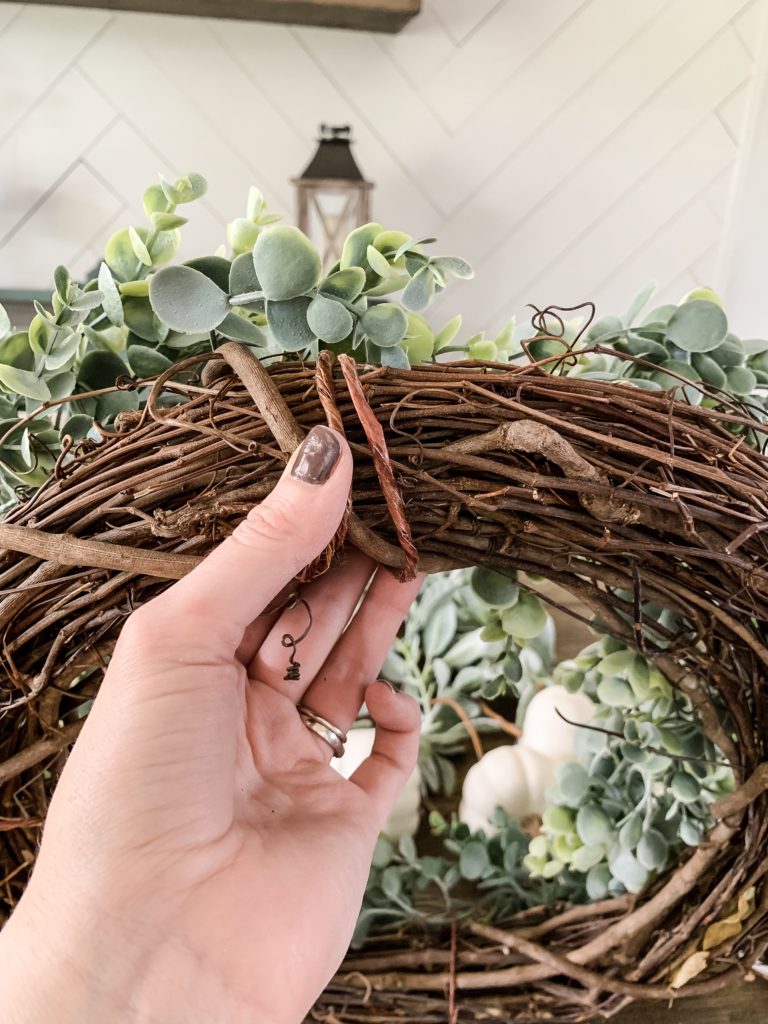
Then wrap the floral wire around the garland and wreath to secure it, evenly spacing it around the entire wreath.
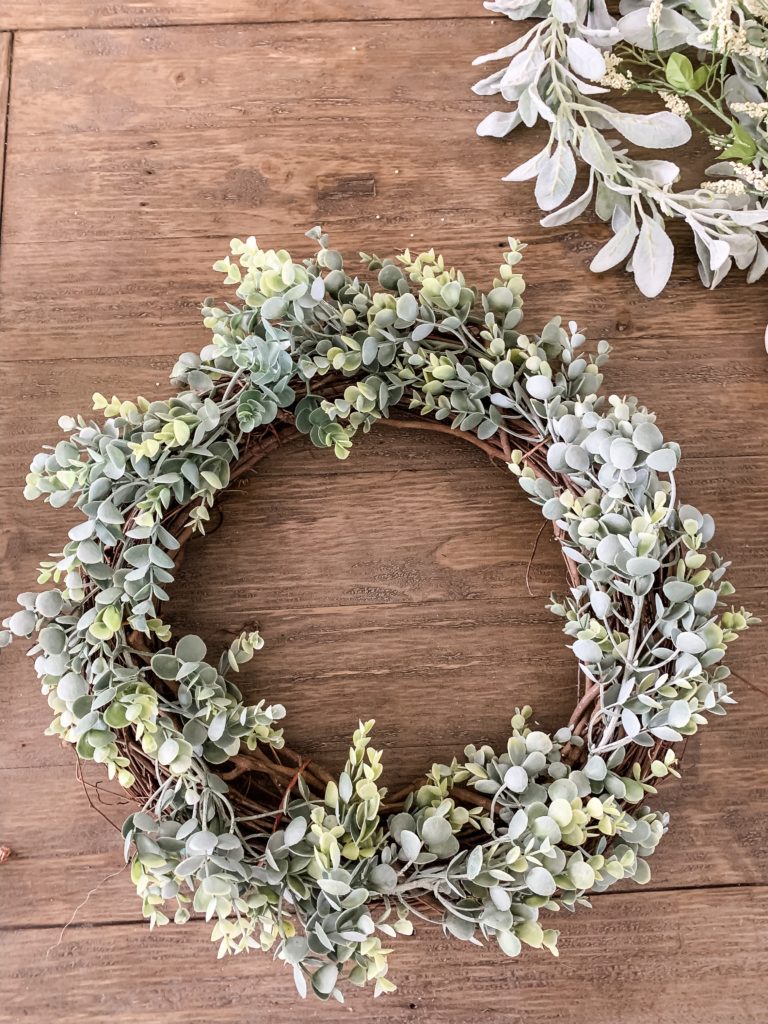
The wreath will now look like this with the eucalyptus garland secured.
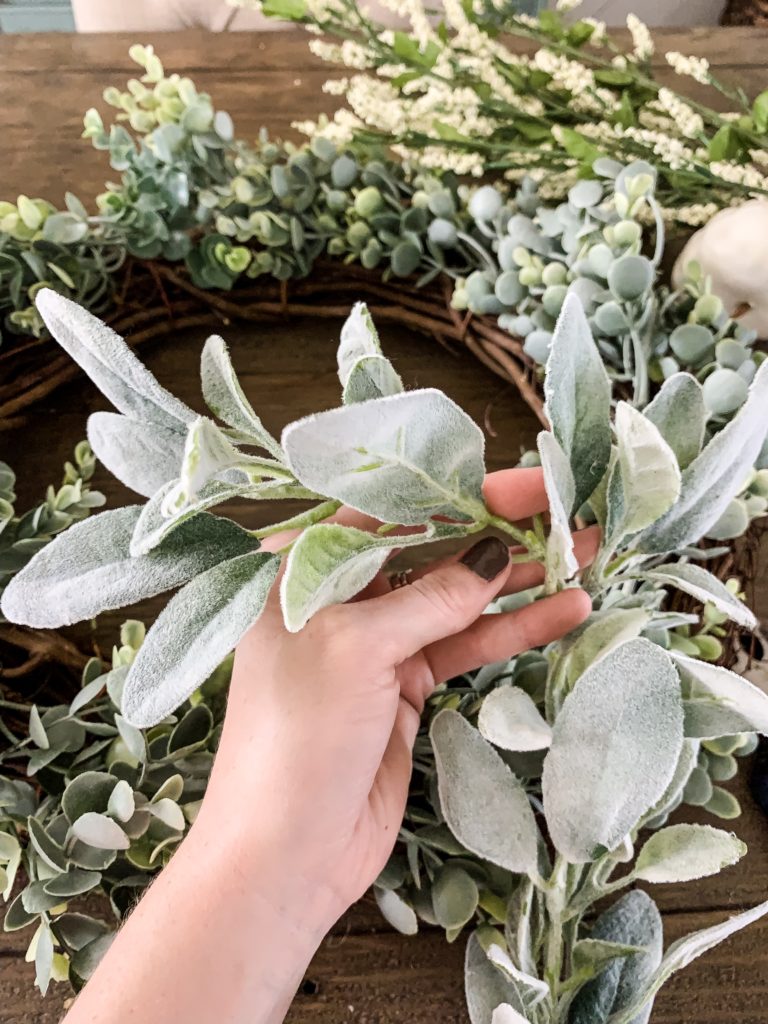
Now you will take your lamb’s ear garland or stems. If in garland form, use your wire cutters to cut it up into smaller stems. You’ll add these in to help fill in the wreath, tucking them into the grape vines or into the floral wire securely. I found that alternating direction of the stems looked the best.
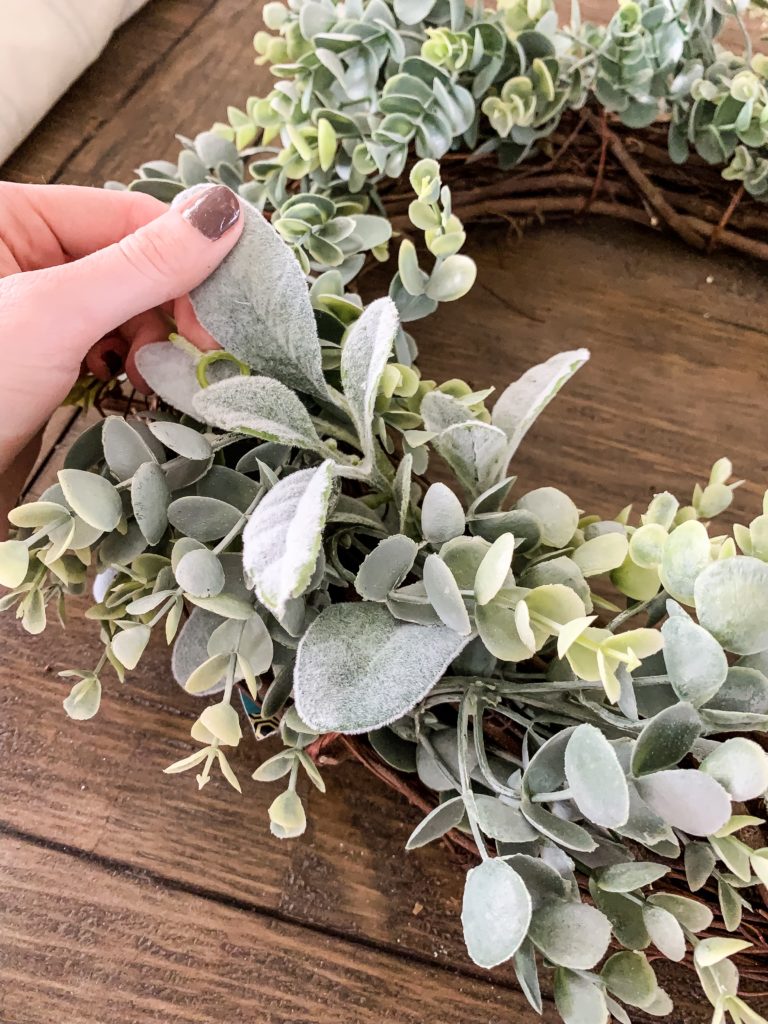
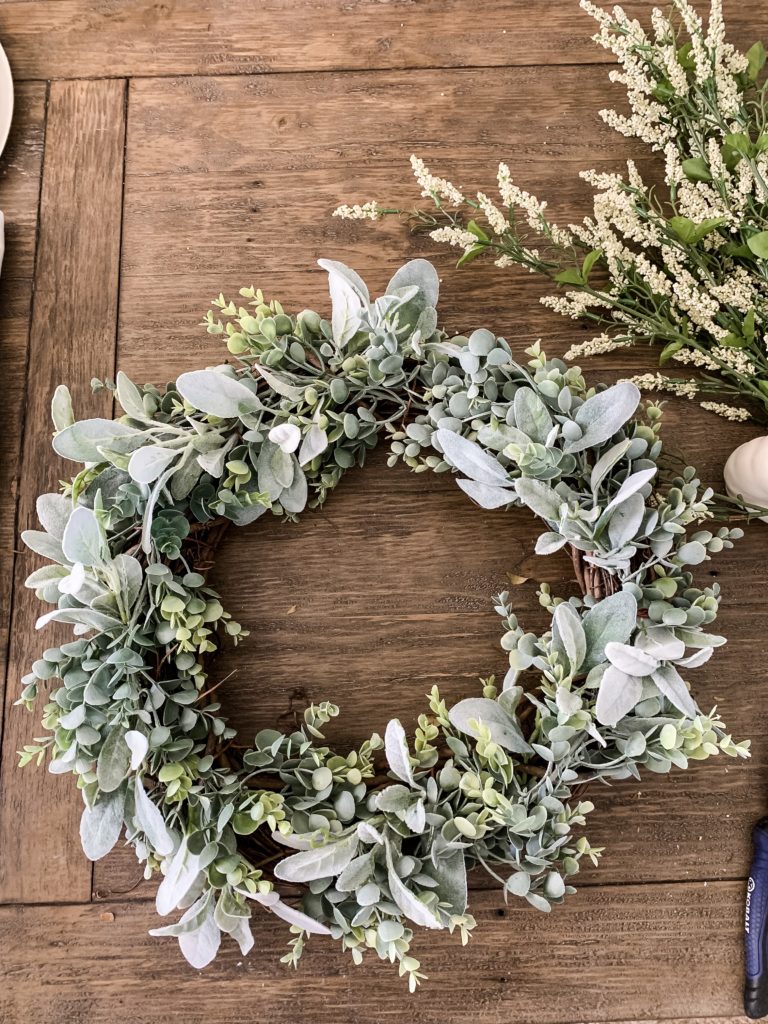
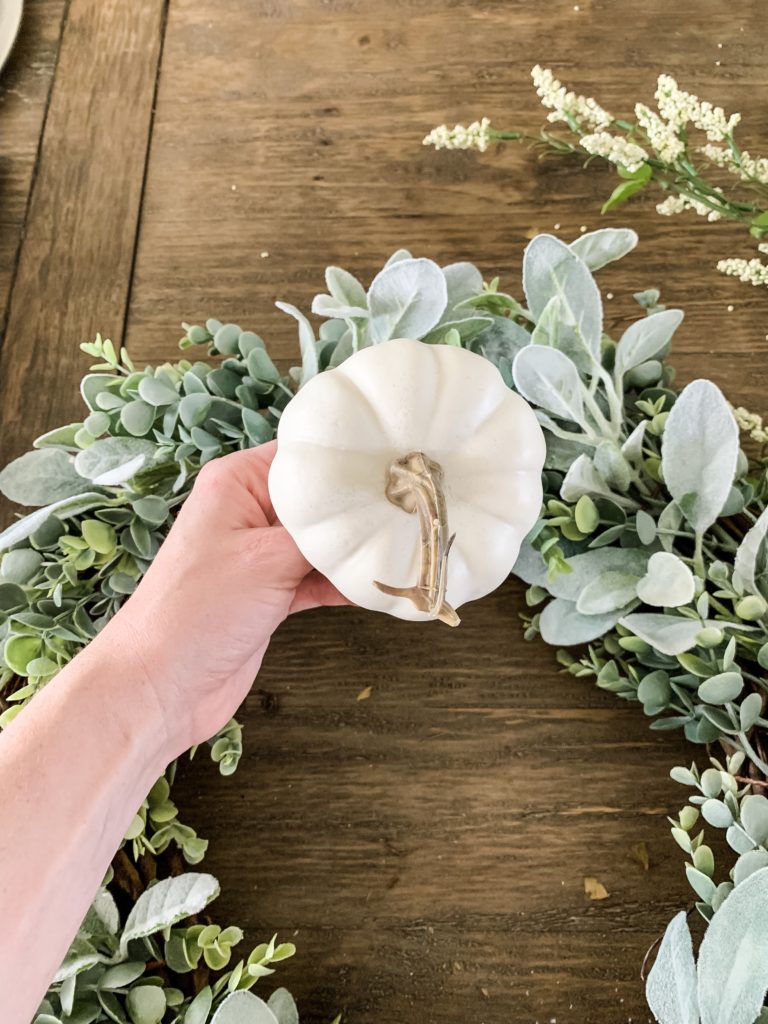
It’s looking so cute already! Now you will add your white pumpkin picks in, tucking the picks into the grapevine wreath. Space it evenly around, except leave a larger space where you want to put your ribbon.
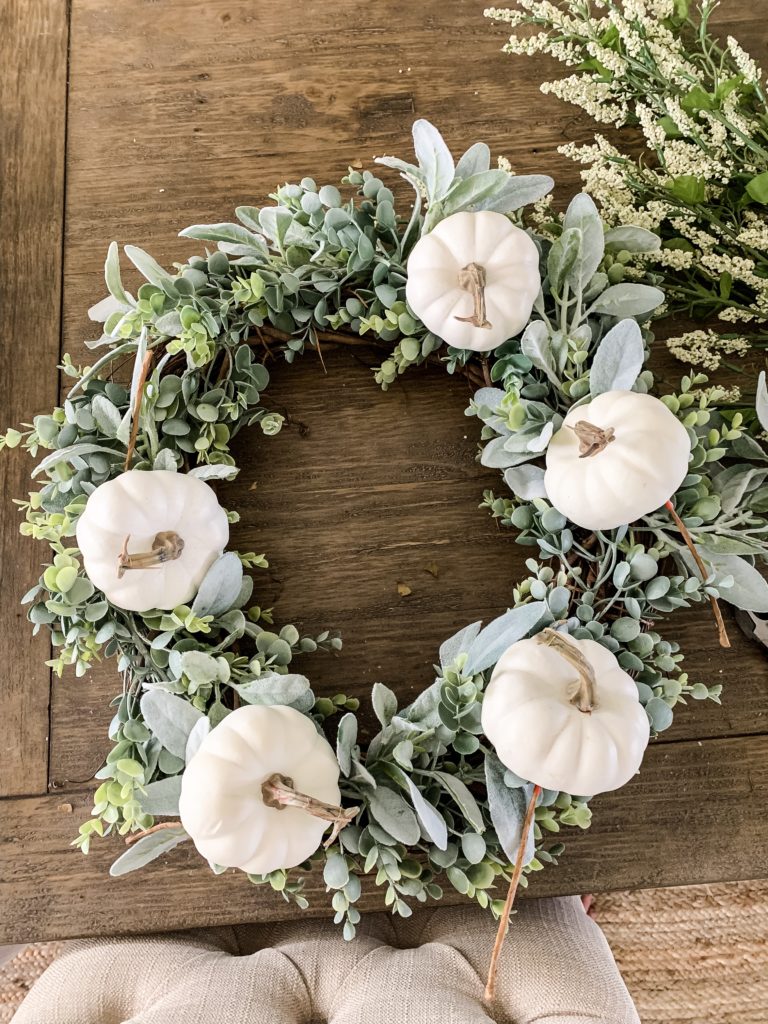
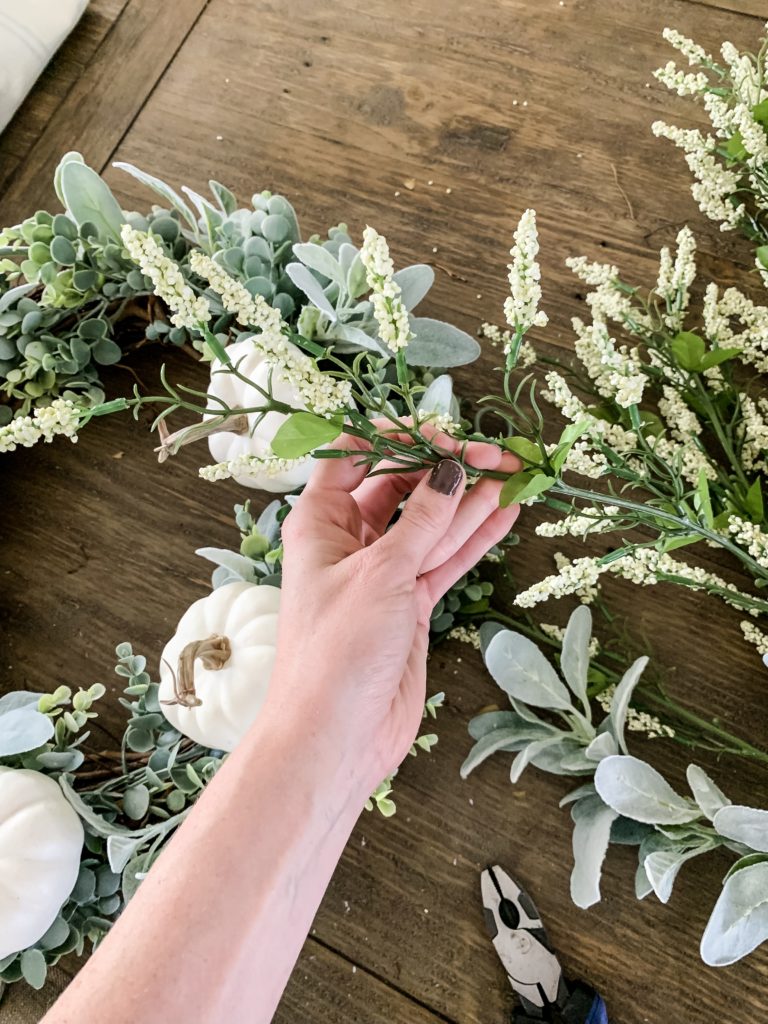
Now take your white floral stems, or whichever accent florals you found. Trim them to smaller stems and add them in around the pumpkins alternating direction of stem.
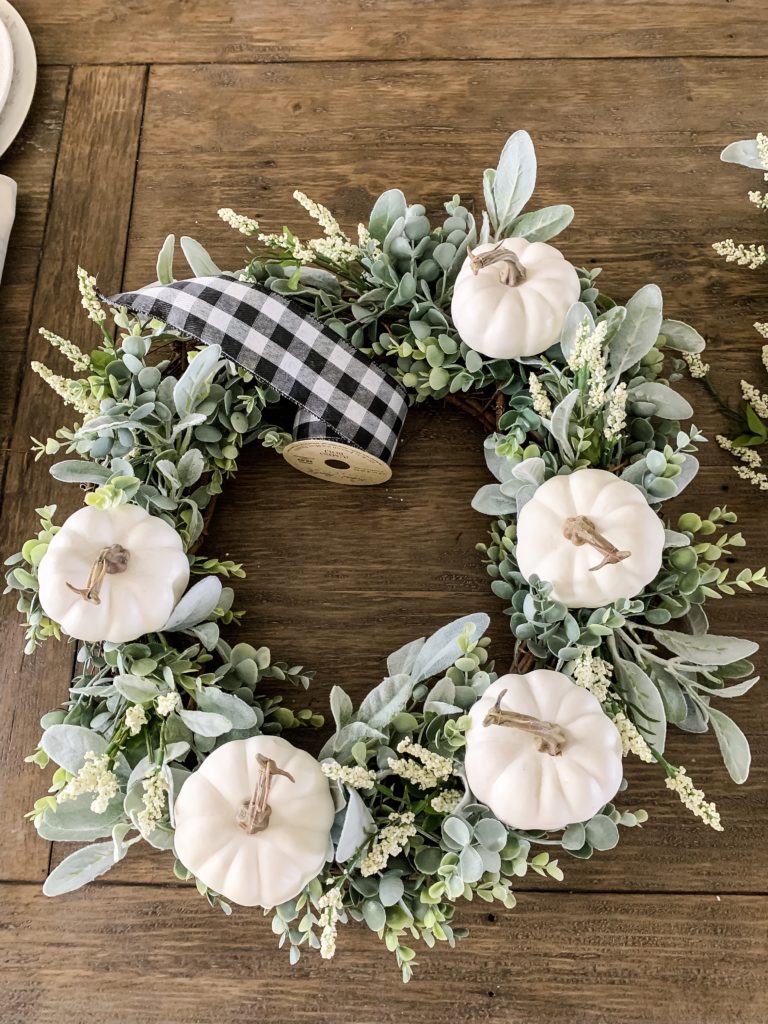
Now it’s time to make the bow! Grab your ribbon, cut a 3.5″-4″ strip. Make a loop as shown and hot glue the seam together. This will be the center of your bow.
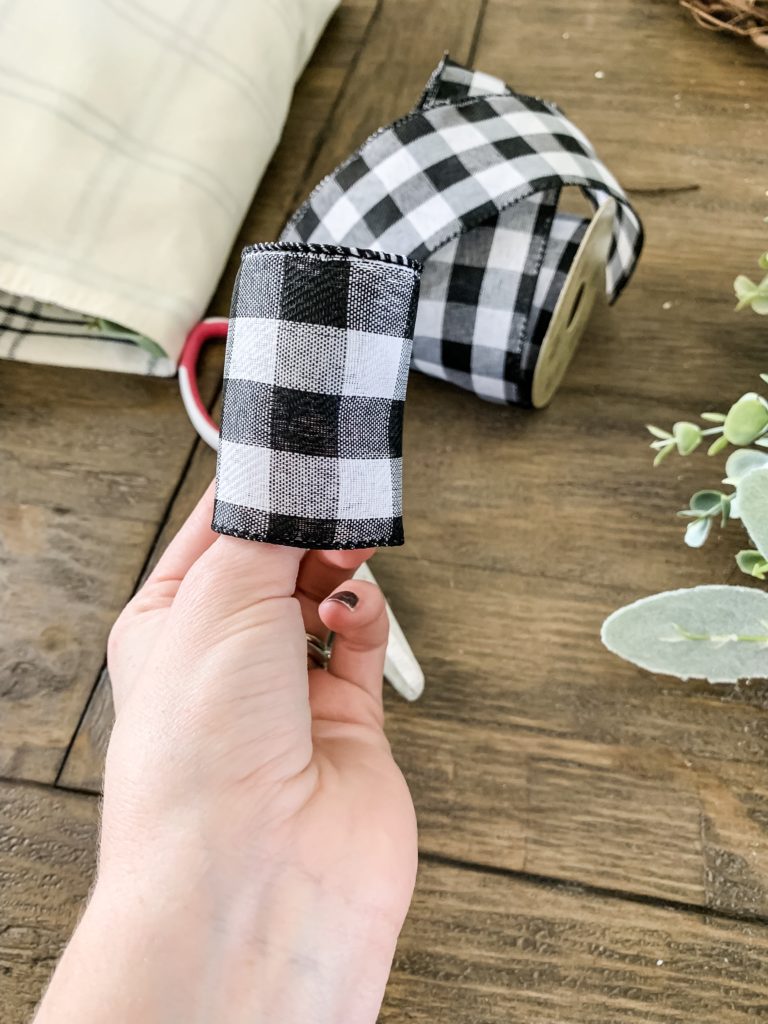
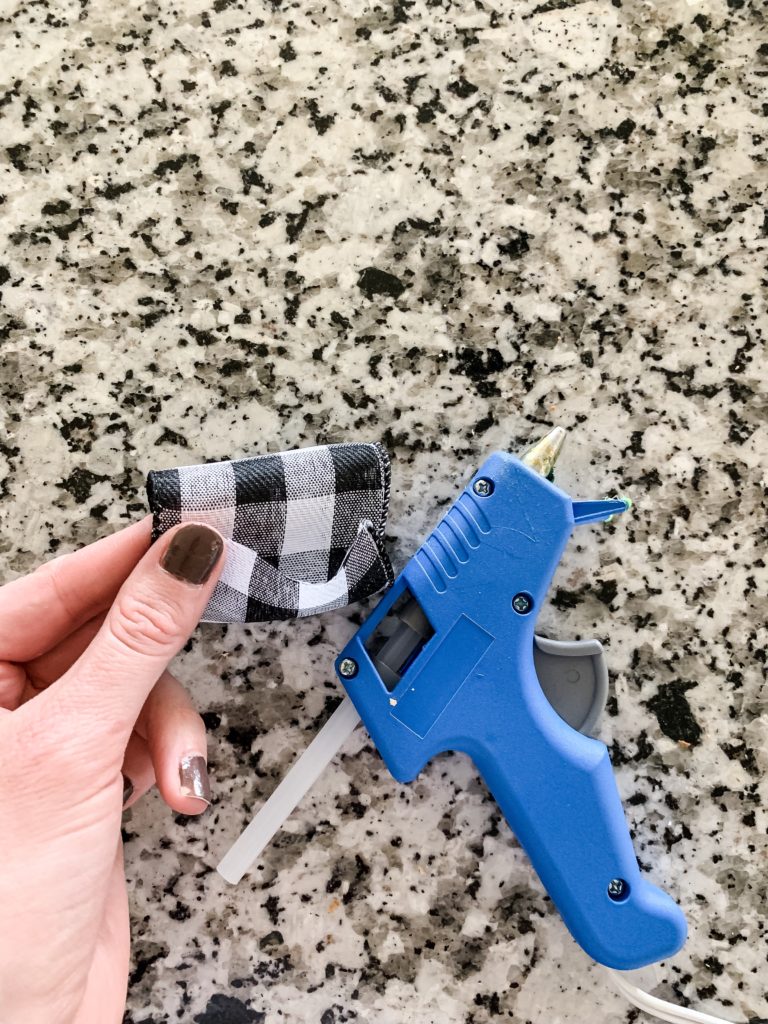
Now you’re going to make a larger loop from ribbon still attached to the roll. You can choose whatever length you want as this is how wide the bow will be. Mine was ~8″ wide. Hot glue the seam to the back of the ribbon so it stays looped. You will then keep making loops so that when you turn it to the side, you have 5 loops on each side when holding the ribbon in the middle as shown.
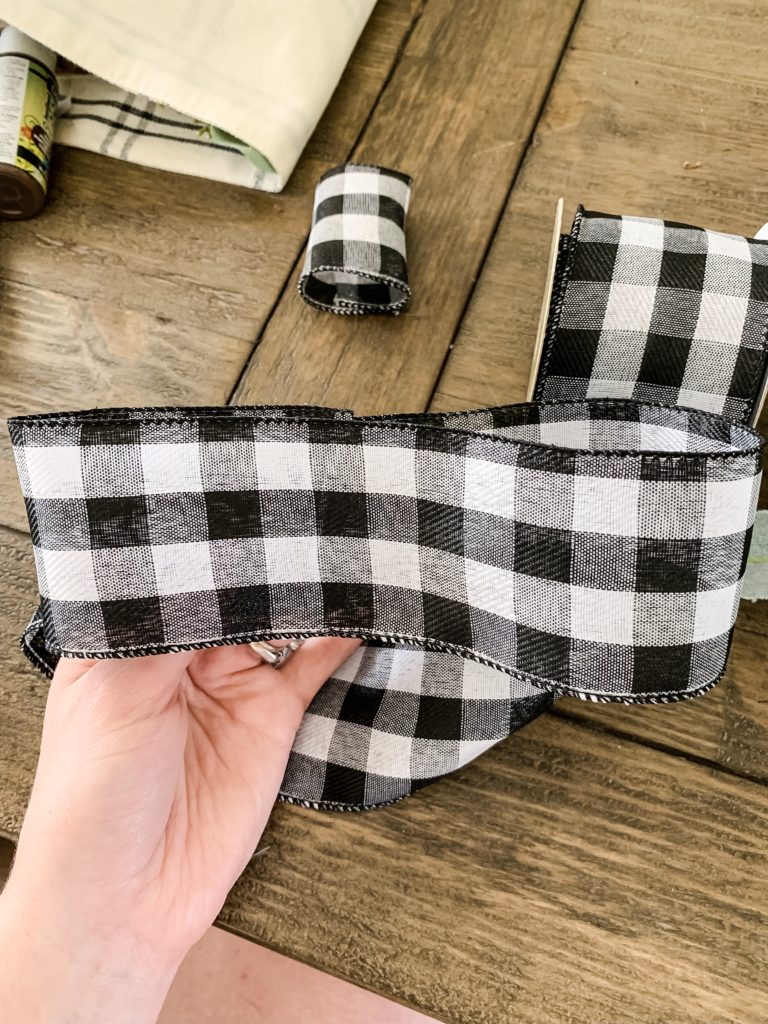
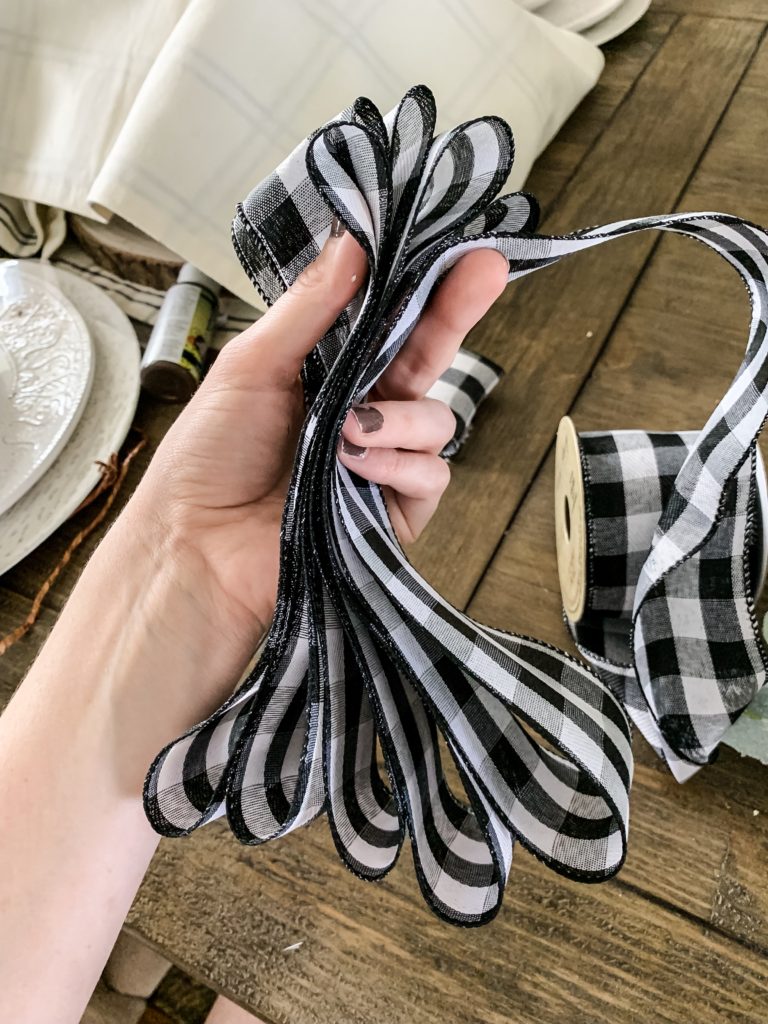
As you’re making your final loop, bring the tail of the ribbon and fold over as shown. Hot glue it to the back of the loops of ribbon.
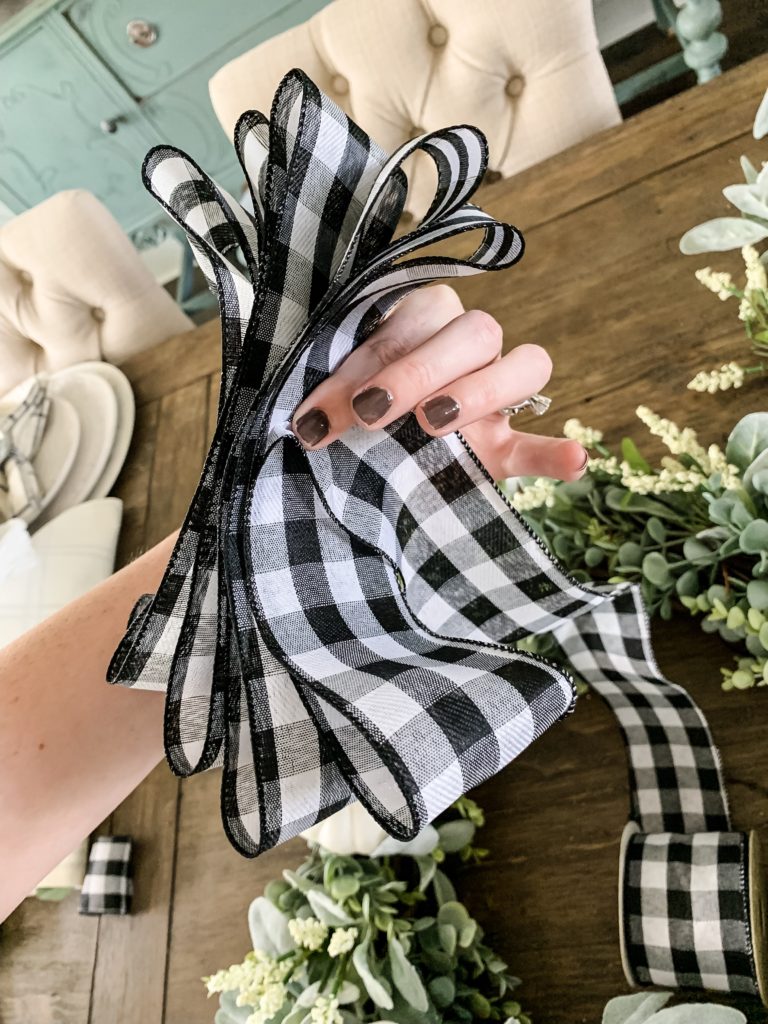
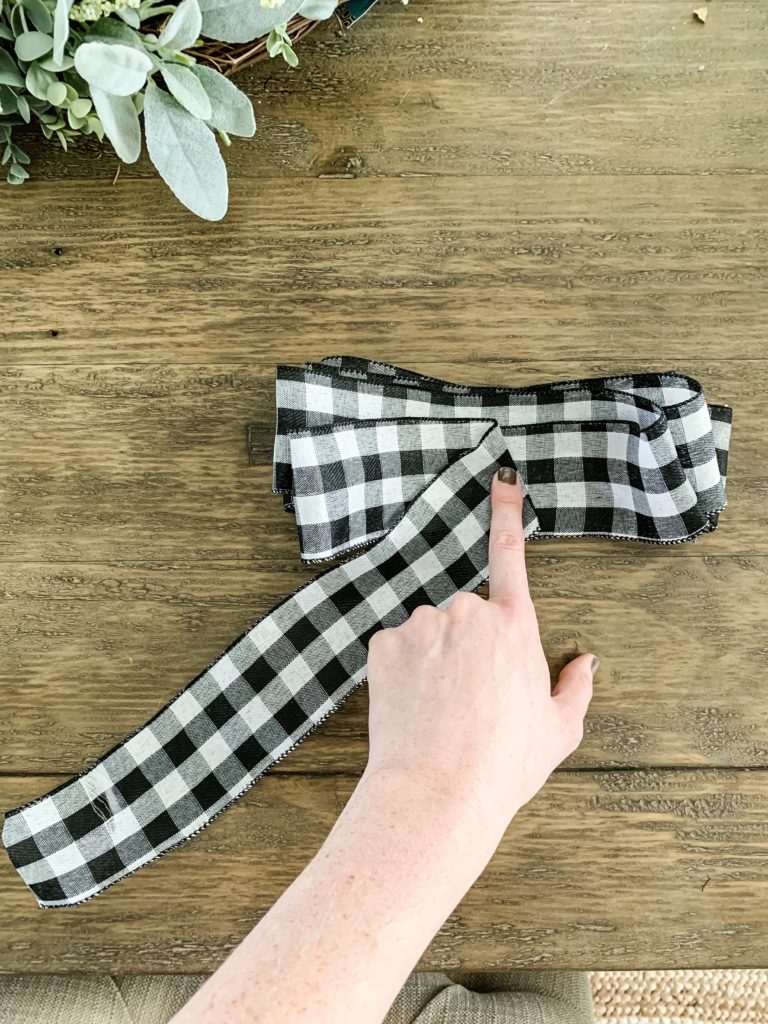
Next you will cut a piece of floral wire, grab your small loop of ribbon and thread/twist the floral wire as pictured. Cut a second tail of ribbon and hot glue it to the back.
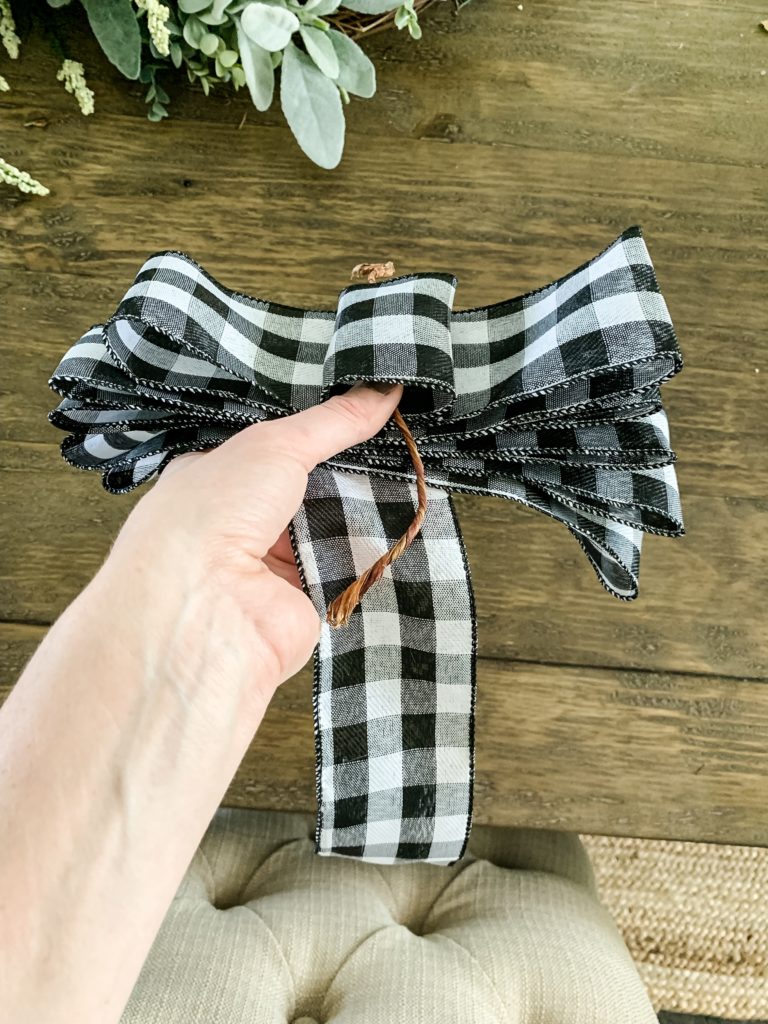
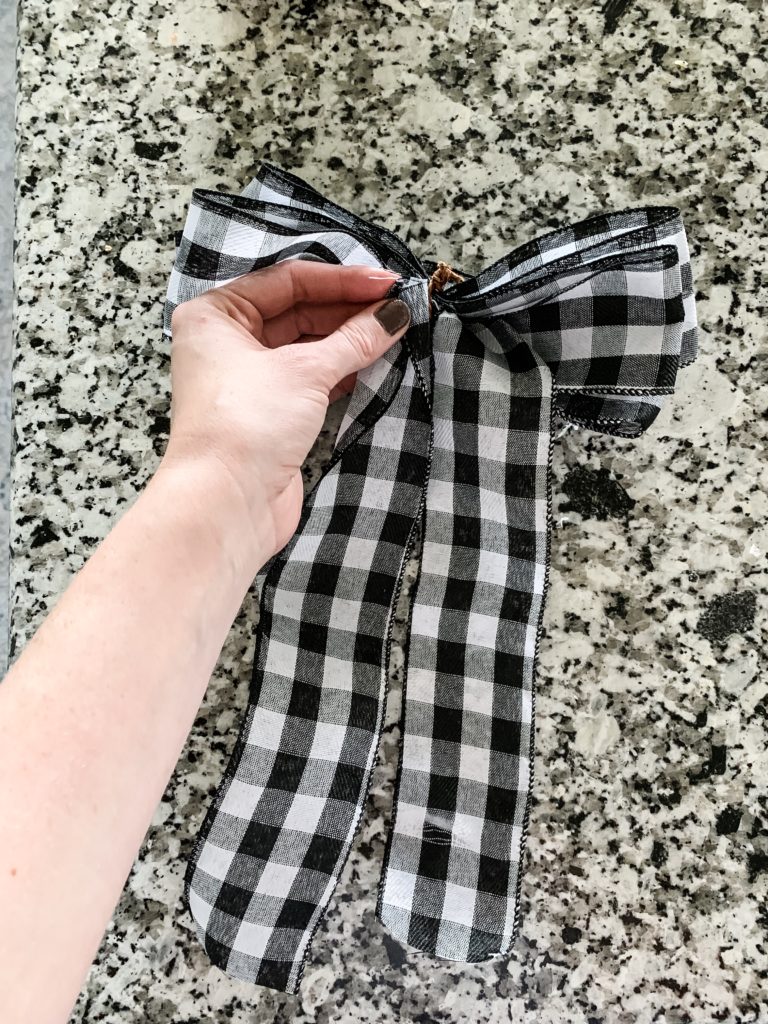
Now fluff out the loops and cut one more floral wire strip which you will use to thread the back of the bow to the wreath.
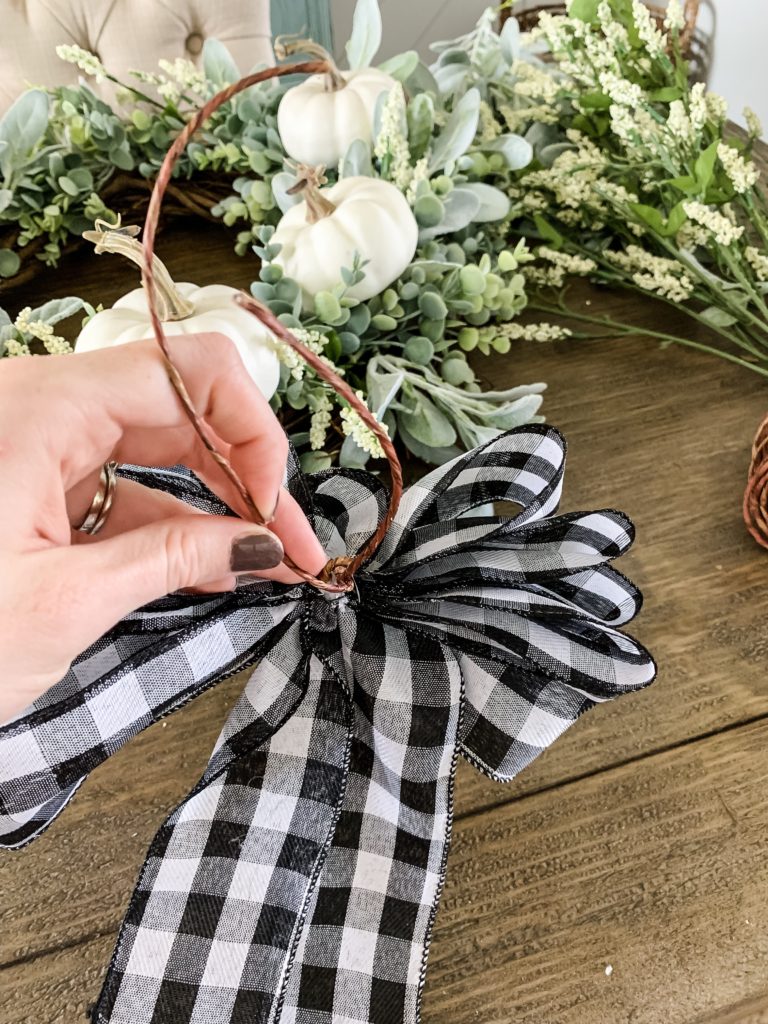
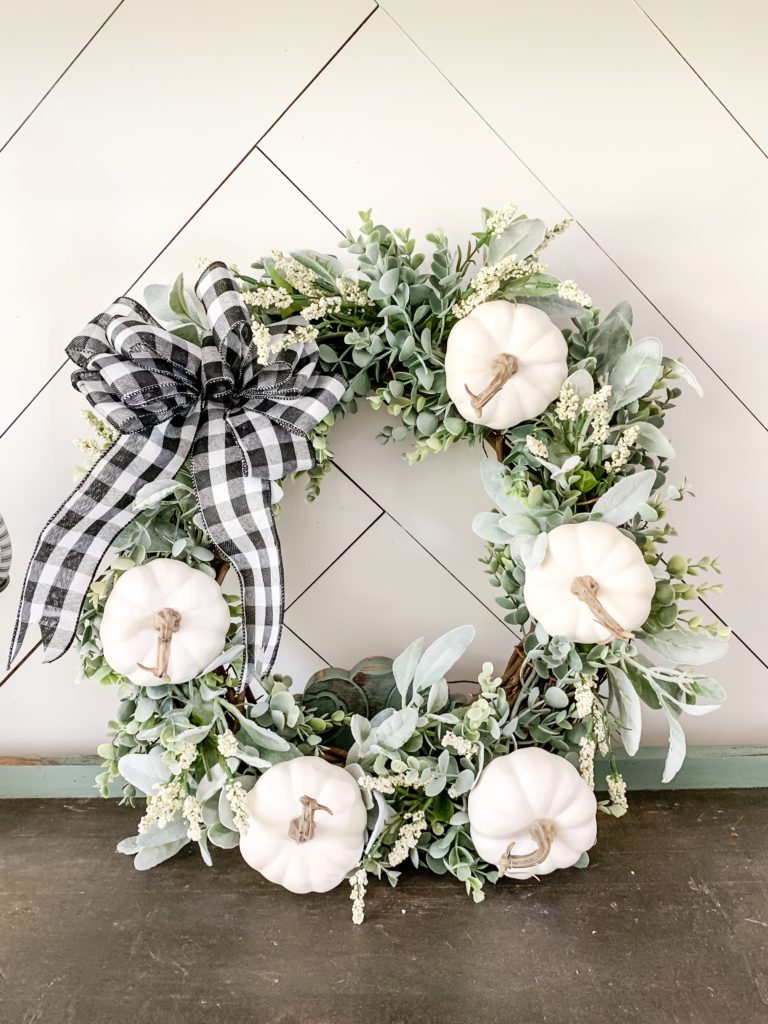
And that’s it! You can use this method to create a wreath for each season. Hope you enjoyed learning how to make this easy DIY fall wreath! Make sure to tag me in your wreaths on Instagram. Happy crafting! – xoxo Tracy
G E T T H E L O O K . . . JavaScript is currently disabled in this browser. Reactivate it to view this content. It’s been awhile since I did a DIY project and I decided I wanted to do a fun one for a centerpiece out on the patio! You could also…

When we first moved into our new home, I was on the lookout for some wooden planters to put on our front porch. Well, the sticker shock quickly hit as I saw how expensive they are! So my hubby and I decided to make our own and I just love how they turned out! Today…
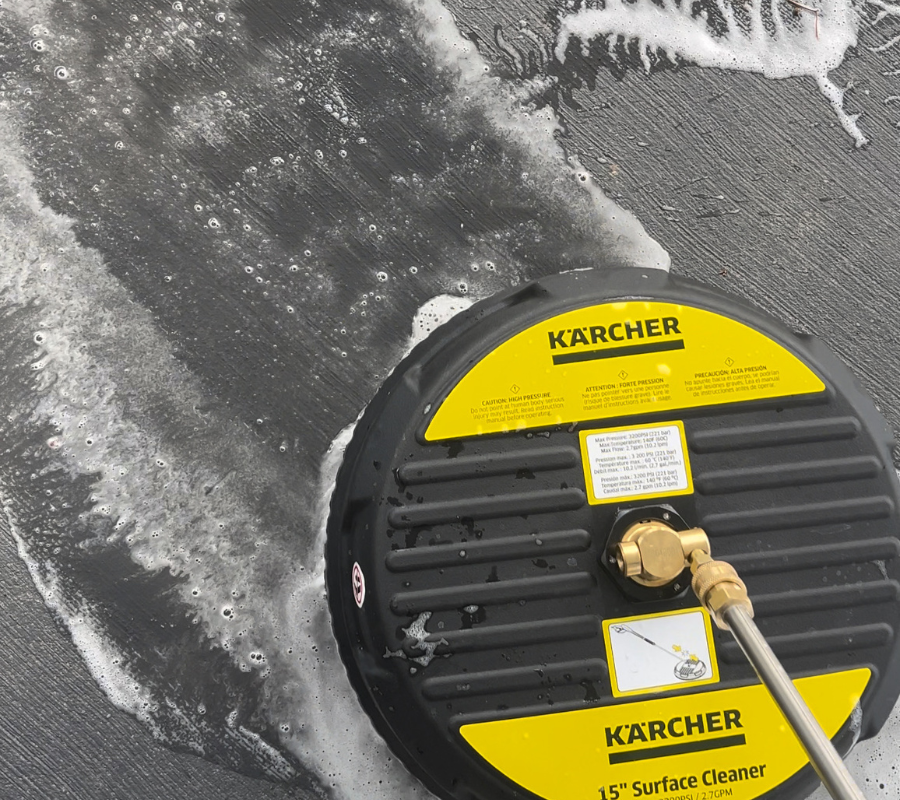
The snow has finally melted & I’m so excited to finally start prepping for patio season! Last year we did some pretty big projects with the help of Lowe’s & I’m so ready to start enjoying these spaces again this year. Lowe’s SpringFest is currently happening now & it’s a great time to score big…
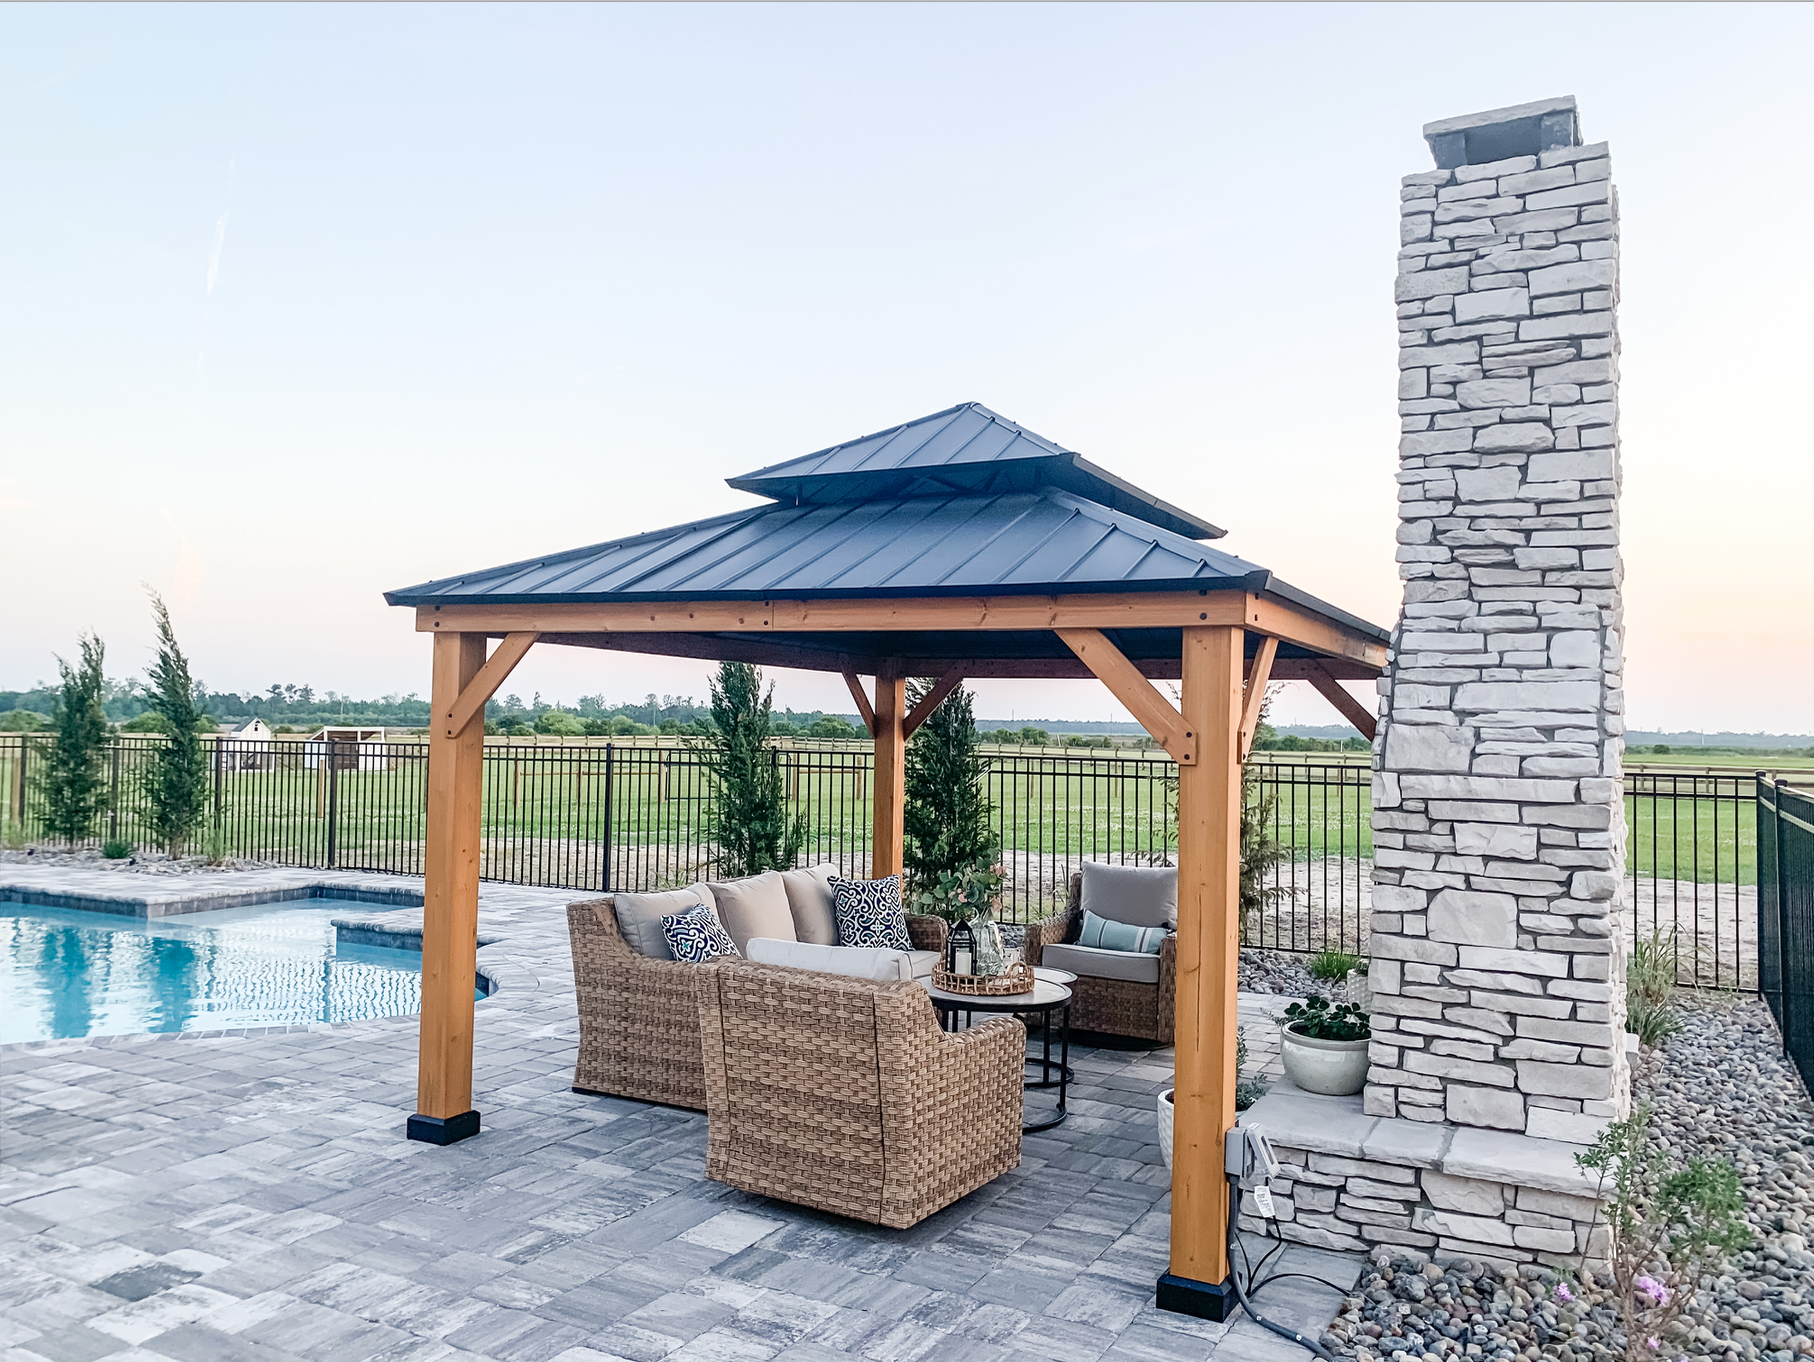
Here at the ranch, we love spending time outdoors. Our latest big project was creating a beautiful outdoor oasis thanks to Sunjoy Group. We were gifted the 12 ft x 10 ft Cedar Frame Gazebo which you can find here. My husband and I put together the whole thing ourselves over a 2 day period (took about…
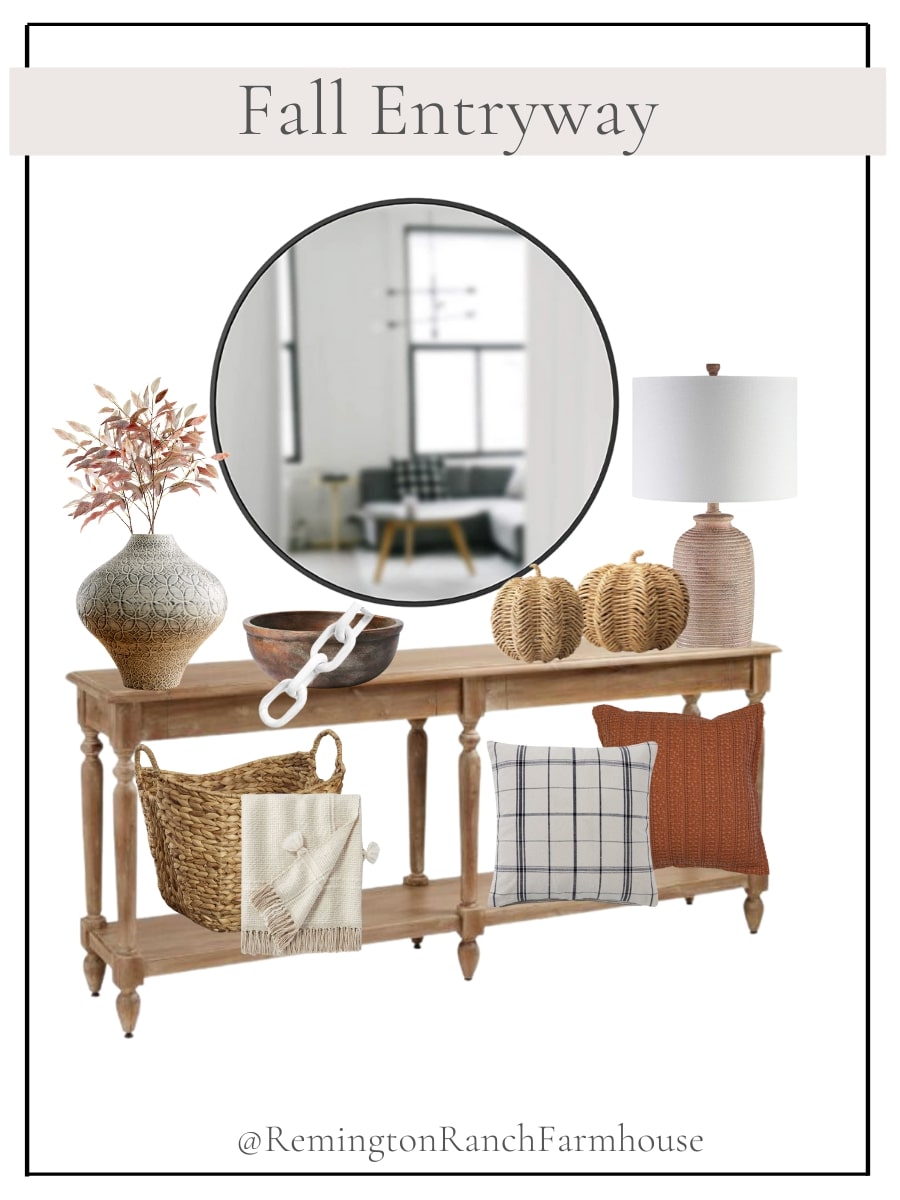
I love styling our entryway for all the seasons – especially fall decor! Today I wanted to give you some super easy tips and tricks to style yours at home too. The key decor tips I recommend is to use is pick your larger statement anchor items, some textures to make it feel cozy and…
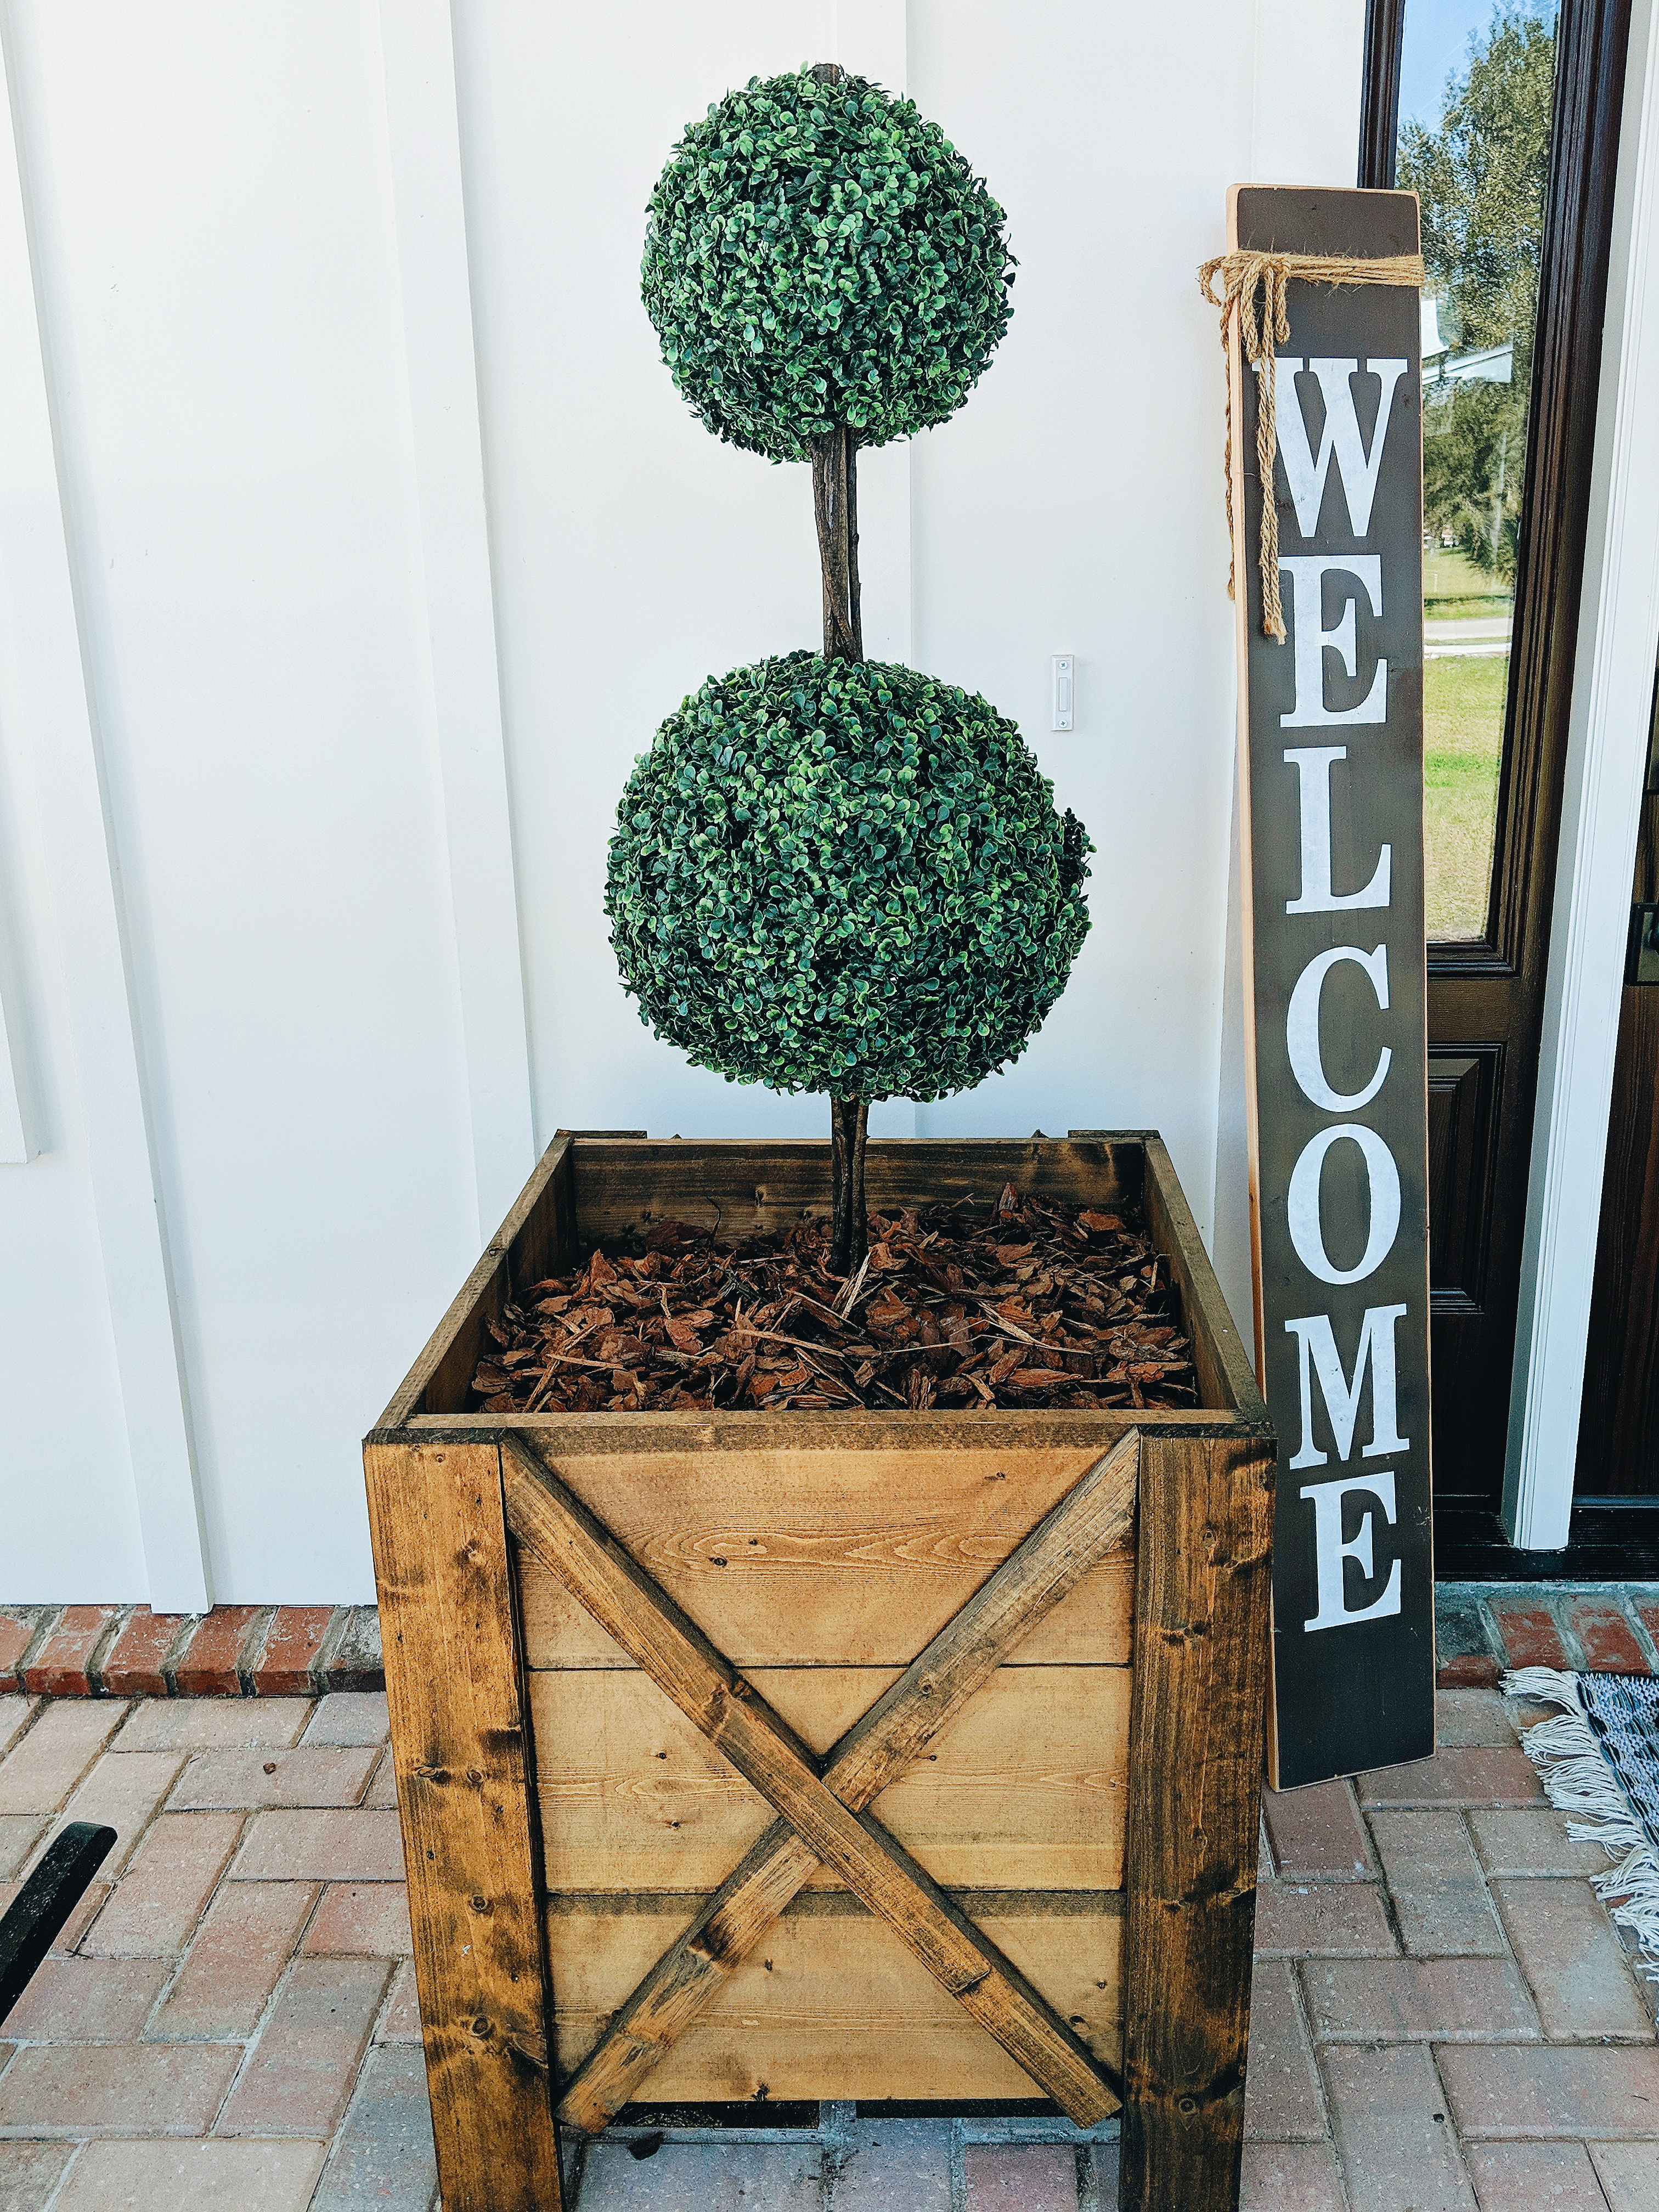
I have been on the hunt for some faux topiaries for our front porch to fill our wooden planters with. I quickly realized how pricey they are especially when you need two! I found these which I loved, but was determined to find a cheaper way to make them at home! So I decided to use…

G E T T H E L O O K . . . JavaScript is currently disabled in this browser. Reactivate it to view this content. It’s been awhile since I did a DIY project and I decided I wanted to do a fun one for a centerpiece out on the patio! You could also…

When we first moved into our new home, I was on the lookout for some wooden planters to put on our front porch. Well, the sticker shock quickly hit as I saw how expensive they are! So my hubby and I decided to make our own and I just love how they turned out! Today…

The snow has finally melted & I’m so excited to finally start prepping for patio season! Last year we did some pretty big projects with the help of Lowe’s & I’m so ready to start enjoying these spaces again this year. Lowe’s SpringFest is currently happening now & it’s a great time to score big…

Here at the ranch, we love spending time outdoors. Our latest big project was creating a beautiful outdoor oasis thanks to Sunjoy Group. We were gifted the 12 ft x 10 ft Cedar Frame Gazebo which you can find here. My husband and I put together the whole thing ourselves over a 2 day period (took about…

I love styling our entryway for all the seasons – especially fall decor! Today I wanted to give you some super easy tips and tricks to style yours at home too. The key decor tips I recommend is to use is pick your larger statement anchor items, some textures to make it feel cozy and…

I have been on the hunt for some faux topiaries for our front porch to fill our wooden planters with. I quickly realized how pricey they are especially when you need two! I found these which I loved, but was determined to find a cheaper way to make them at home! So I decided to use…

G E T T H E L O O K . . . JavaScript is currently disabled in this browser. Reactivate it to view this content. It’s been awhile since I did a DIY project and I decided I wanted to do a fun one for a centerpiece out on the patio! You could also…

When we first moved into our new home, I was on the lookout for some wooden planters to put on our front porch. Well, the sticker shock quickly hit as I saw how expensive they are! So my hubby and I decided to make our own and I just love how they turned out! Today…

The snow has finally melted & I’m so excited to finally start prepping for patio season! Last year we did some pretty big projects with the help of Lowe’s & I’m so ready to start enjoying these spaces again this year. Lowe’s SpringFest is currently happening now & it’s a great time to score big…

Here at the ranch, we love spending time outdoors. Our latest big project was creating a beautiful outdoor oasis thanks to Sunjoy Group. We were gifted the 12 ft x 10 ft Cedar Frame Gazebo which you can find here. My husband and I put together the whole thing ourselves over a 2 day period (took about…

I love styling our entryway for all the seasons – especially fall decor! Today I wanted to give you some super easy tips and tricks to style yours at home too. The key decor tips I recommend is to use is pick your larger statement anchor items, some textures to make it feel cozy and…

I have been on the hunt for some faux topiaries for our front porch to fill our wooden planters with. I quickly realized how pricey they are especially when you need two! I found these which I loved, but was determined to find a cheaper way to make them at home! So I decided to use…
Comments are closed.
Love the tutoring class