Easy DIY Fireplace Makeover
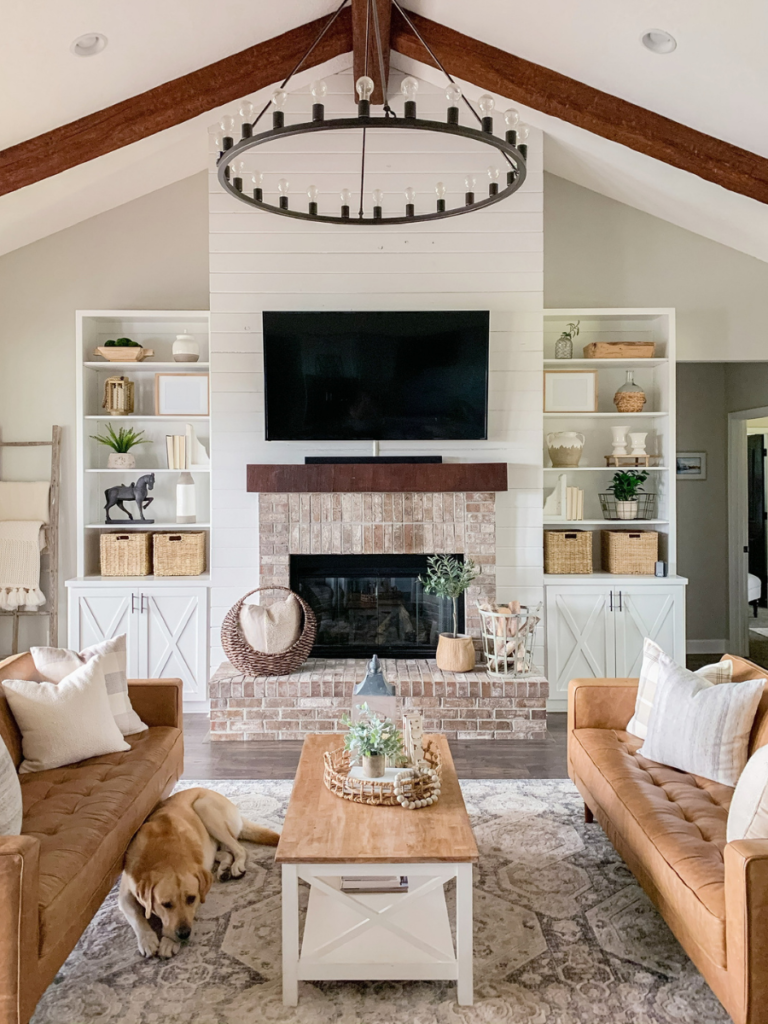
Although our fireplace isn’t old, we had always wanted white mortar to make the brick pop. Unfortunately we had a miscommunication with our builder in thinking he knew to use white mortar but instead a basic gray was used. I didn’t want to paint over all our pretty brick to get that “pop” we wanted so we decided to just use limewash to “paint” over the grout/mortar lines. I was a little nervous to attempt this because I had never seen it done before without limewashing the entire fireplace, but we decided that if it was a flop we could always wash it off within 48 hours! Here’s a guide to an easy DIY Fireplace Makeover!
Supplies you’ll need:
- Limewash – we used this one in color Avorio White. You don’t need very much so we just used the smaller quart size.
- Foam brushes – these are what we used to “paint” on the limewash into the lines.
- Microfiber rags – we used these rags to help correct and mistakes and blend the limewash into the mortar.
- Spray bottle – we used this to spray down the fireplace with water in sections as we worked.
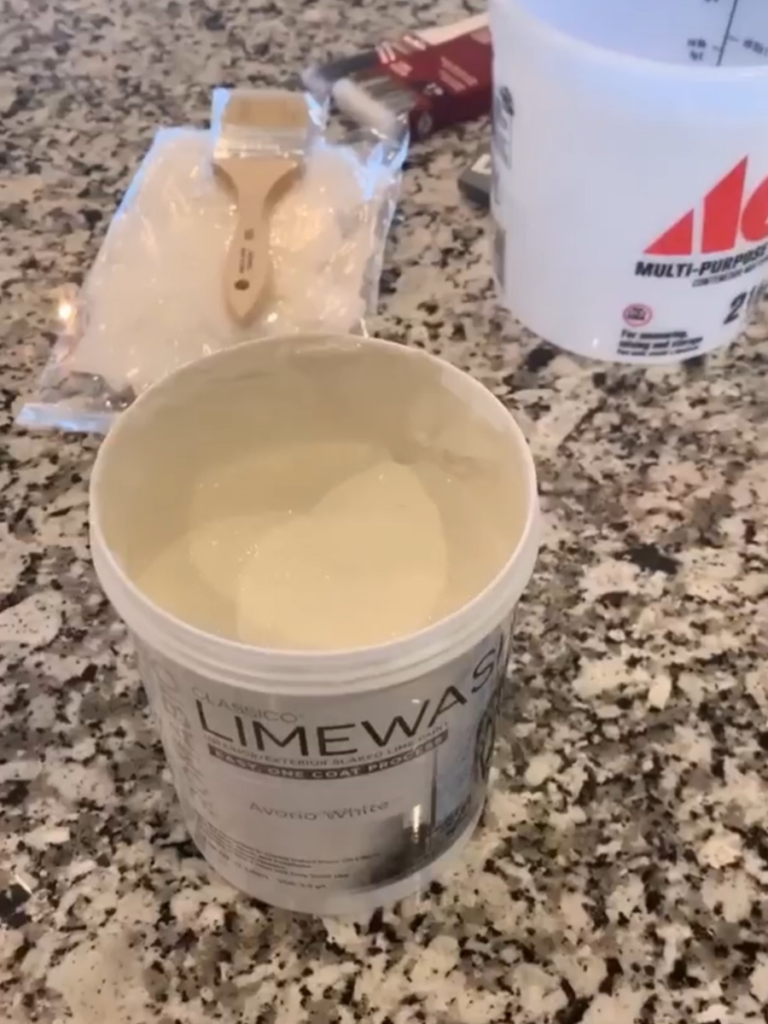
This is the limewash product we used in color Avorio White. We diluted it with about 50-70% water. Just dilute it out enough so that it’s fairly thin and all mixed in well.
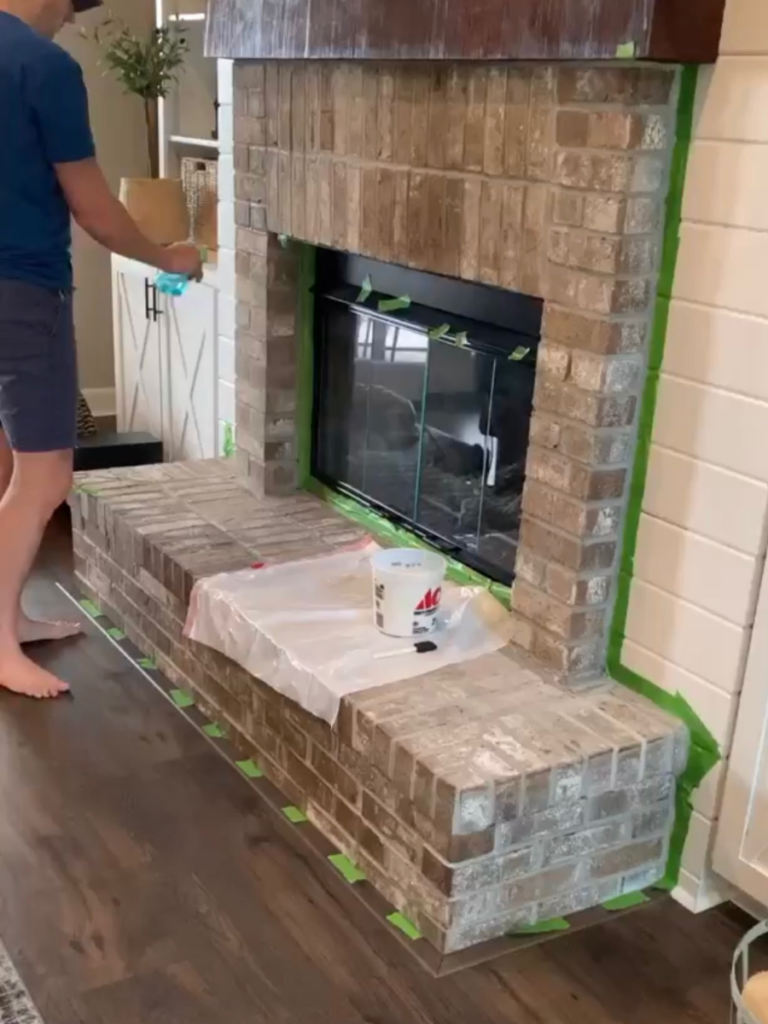
The first thing you’ll want to do is vacuum your fireplace and wipe down the spaces in between the brick really well. This is the cordless vacuum we use and I love the brush handheld attachment. It’s a must-have for any DIY Fireplace Makeover project – no matter what route you take. Then you’ll want to tape around the edges and floor.
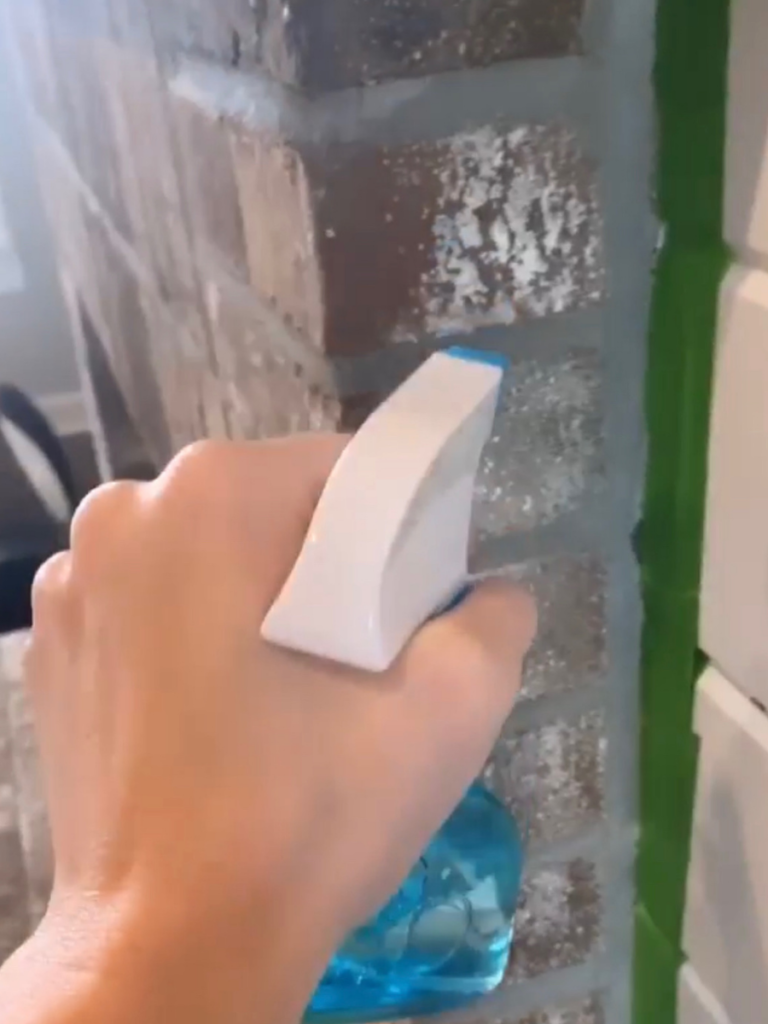
Next thing you’ll do is take a spray bottle of water. We worked in sections because you want the area wet before you apply the limewash. We worked from the top down spraying small sections, then painting over the grout lines with the limewash. I found that these foam brushes worked really, and you’ll want the larger pack because they do wear down due to the rough surface. I also used a wet microfiber rag to catch any uneven lines/mistakes as I worked. We also decided that as we did it, the limewash blended well if you took a dry corner of the rag over it and blended it in well. That gave it more of an authentic “mortar” look.
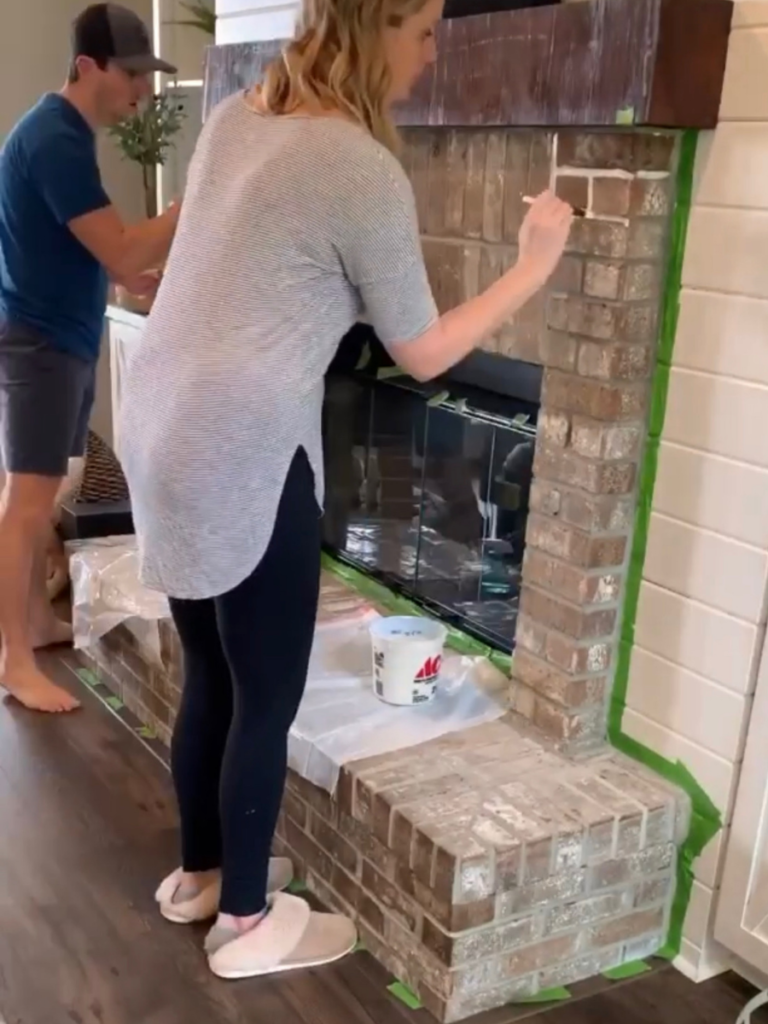
Then you just keep working your way section by section. With both of us, we easily did this in an afternoon. Then just let dry. You have 48 hours or so to wash off anything if you don’t like it!
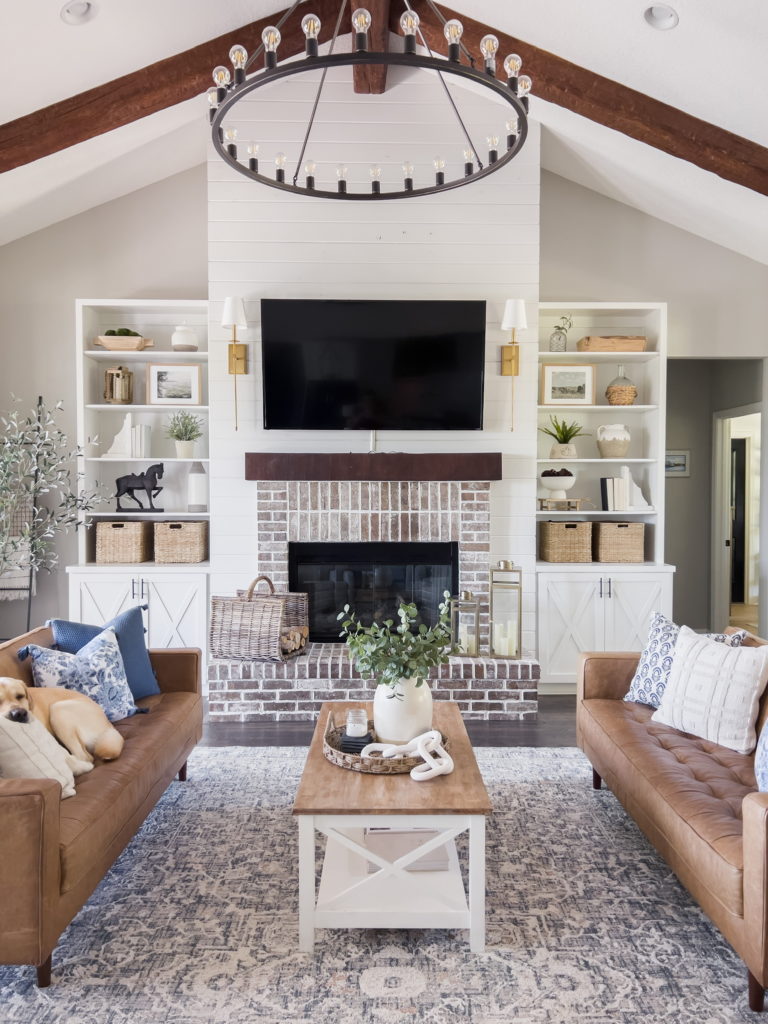
Here is the after! Cannot believe what a difference it made and it only cost around $50! I hope this inspires you to tackle on your own easy DIY fireplace makeover. Let me know what you think below or if you have any questions!
xoxo, Tracy
Disclaimer: this blog post contains affiliate links, which means I may make a small commission if you just my link to purchase an item (at no extra cost to you). I appreciate your support!
For more DIY project inspiration, check out our DIY Backyard Patio Makeover from last summer!

