Similar Posts
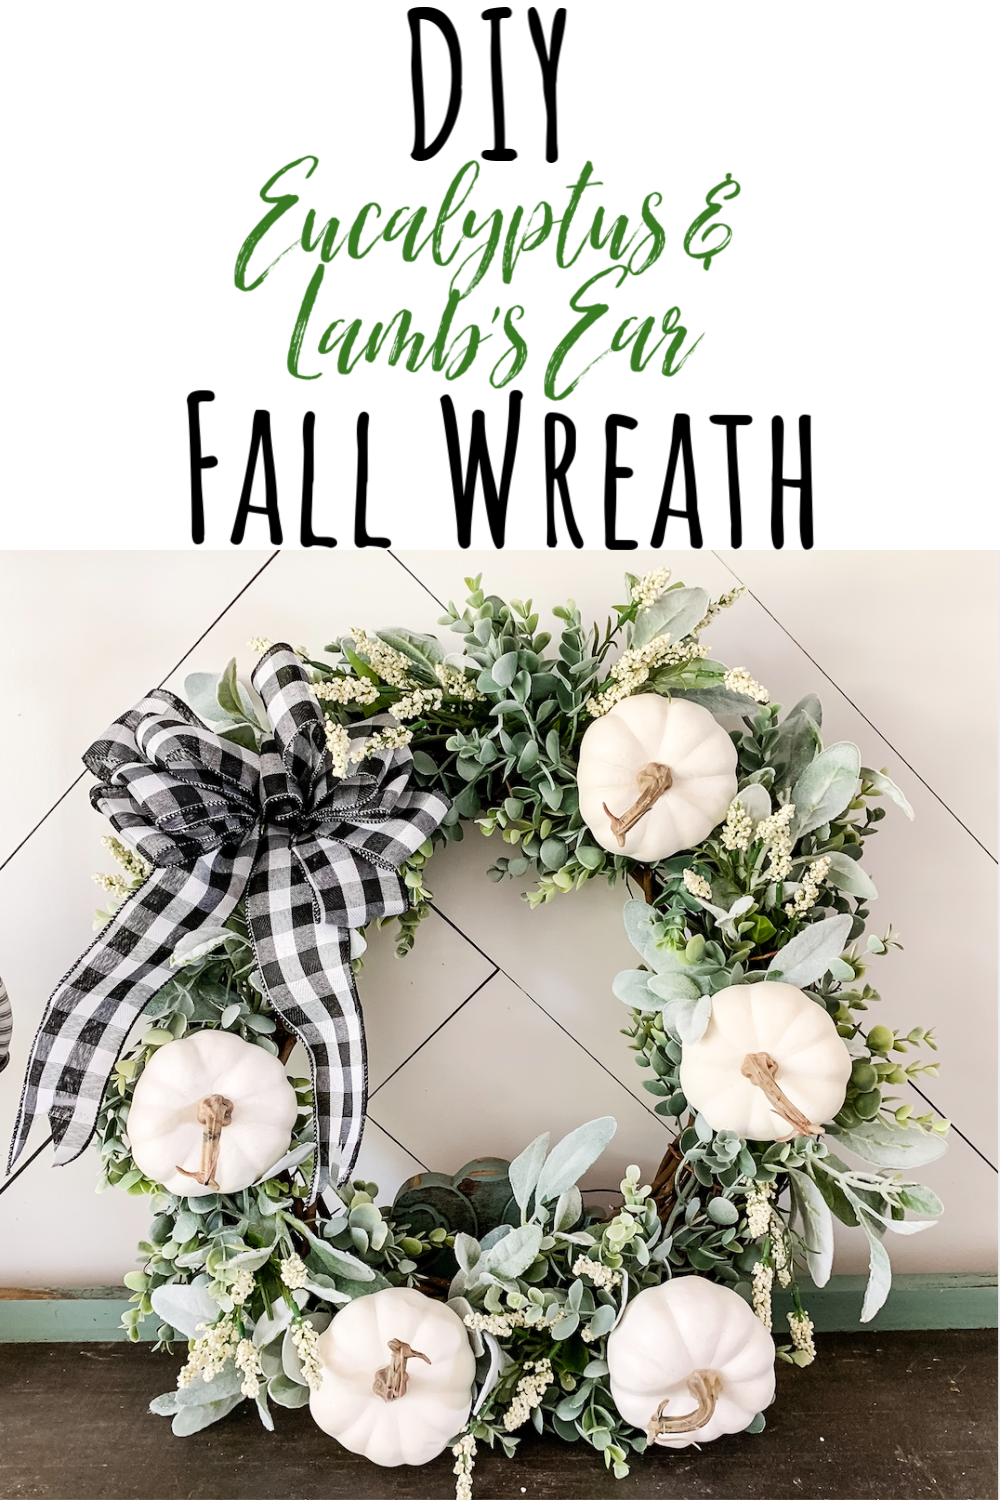
Easy DIY Fall Wreath
Cooler weather always gets me in the mood for some crafting! On the blog today, I’ll show you how to make this easy DIY fall wreath perfect for fall decor! *This post contains affiliate links, thanks for your support in keeping Remington Ranch up and running! Here’s what you need to make your wreath: 18…

DIY Front Porch Wooden Planters
When we first moved into our new home, I was on the lookout for some wooden planters to put on our front porch. Well, the sticker shock quickly hit as I saw how expensive they are! So my hubby and I decided to make our own and I just love how they turned out! Today…

Easy DIY Fireplace Makeover
Although our fireplace isn’t old, we had always wanted white mortar to make the brick pop. Unfortunately we had a miscommunication with our builder in thinking he knew to use white mortar but instead a basic gray was used. I didn’t want to paint over all our pretty brick to get that “pop” we wanted…
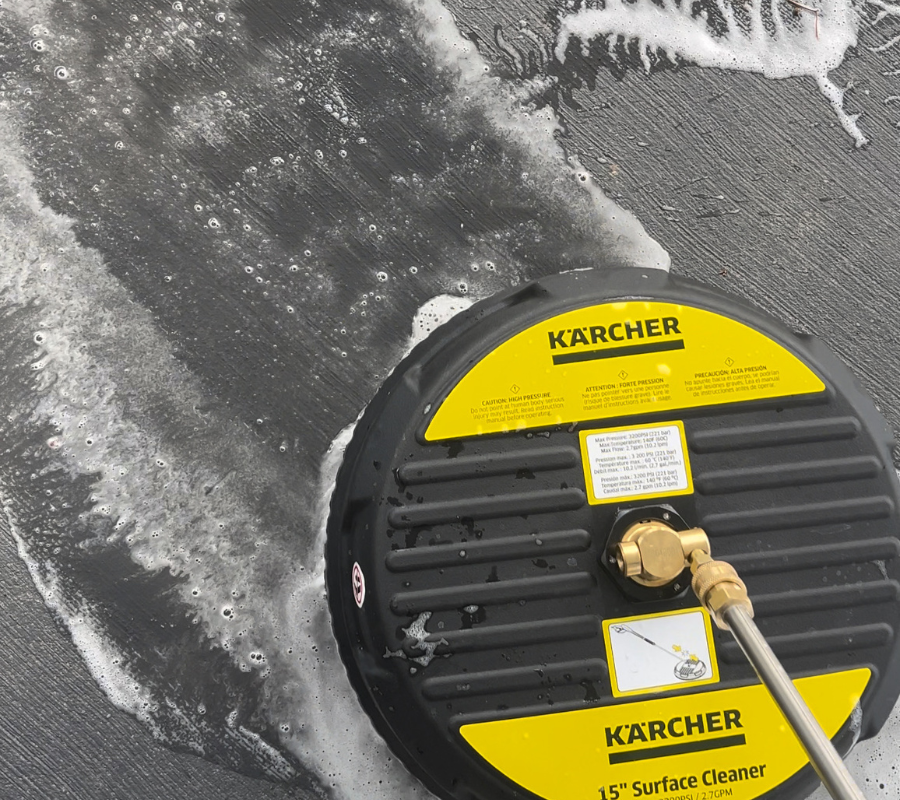
Prepping for Patio Season
The snow has finally melted & I’m so excited to finally start prepping for patio season! Last year we did some pretty big projects with the help of Lowe’s & I’m so ready to start enjoying these spaces again this year. Lowe’s SpringFest is currently happening now & it’s a great time to score big…
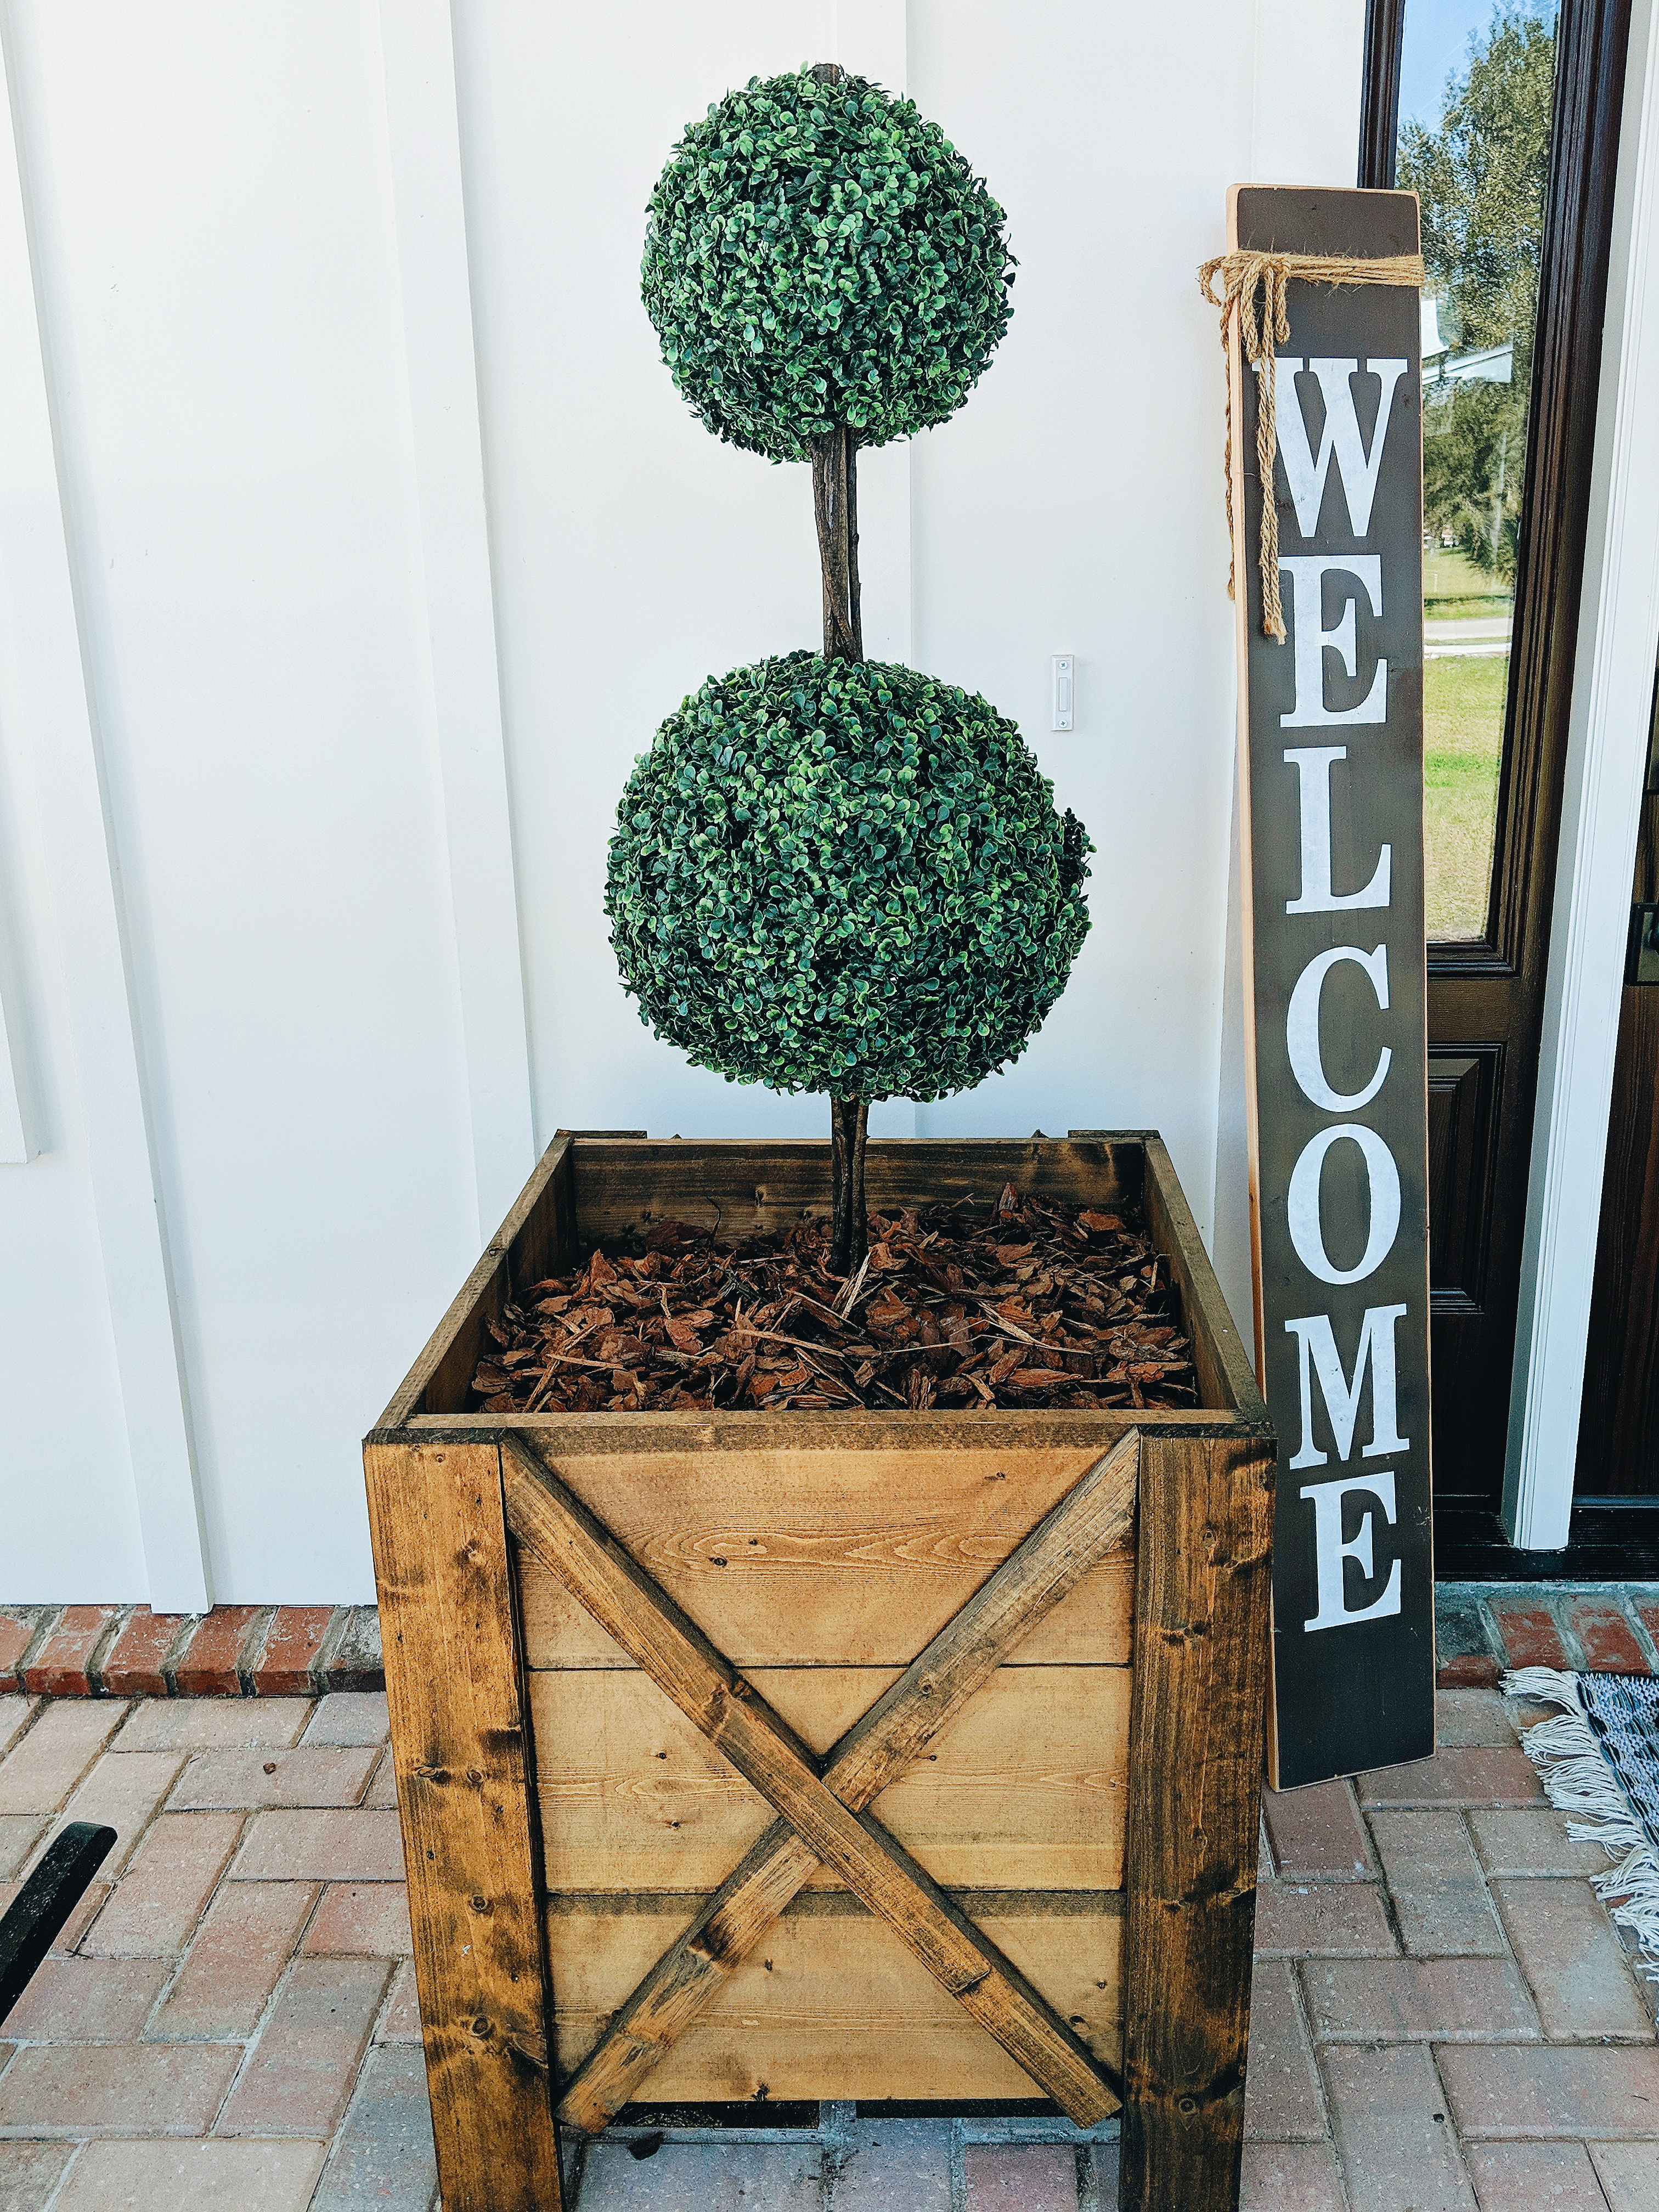
Front Porch Topiary
I have been on the hunt for some faux topiaries for our front porch to fill our wooden planters with. I quickly realized how pricey they are especially when you need two! I found these which I loved, but was determined to find a cheaper way to make them at home! So I decided to use…
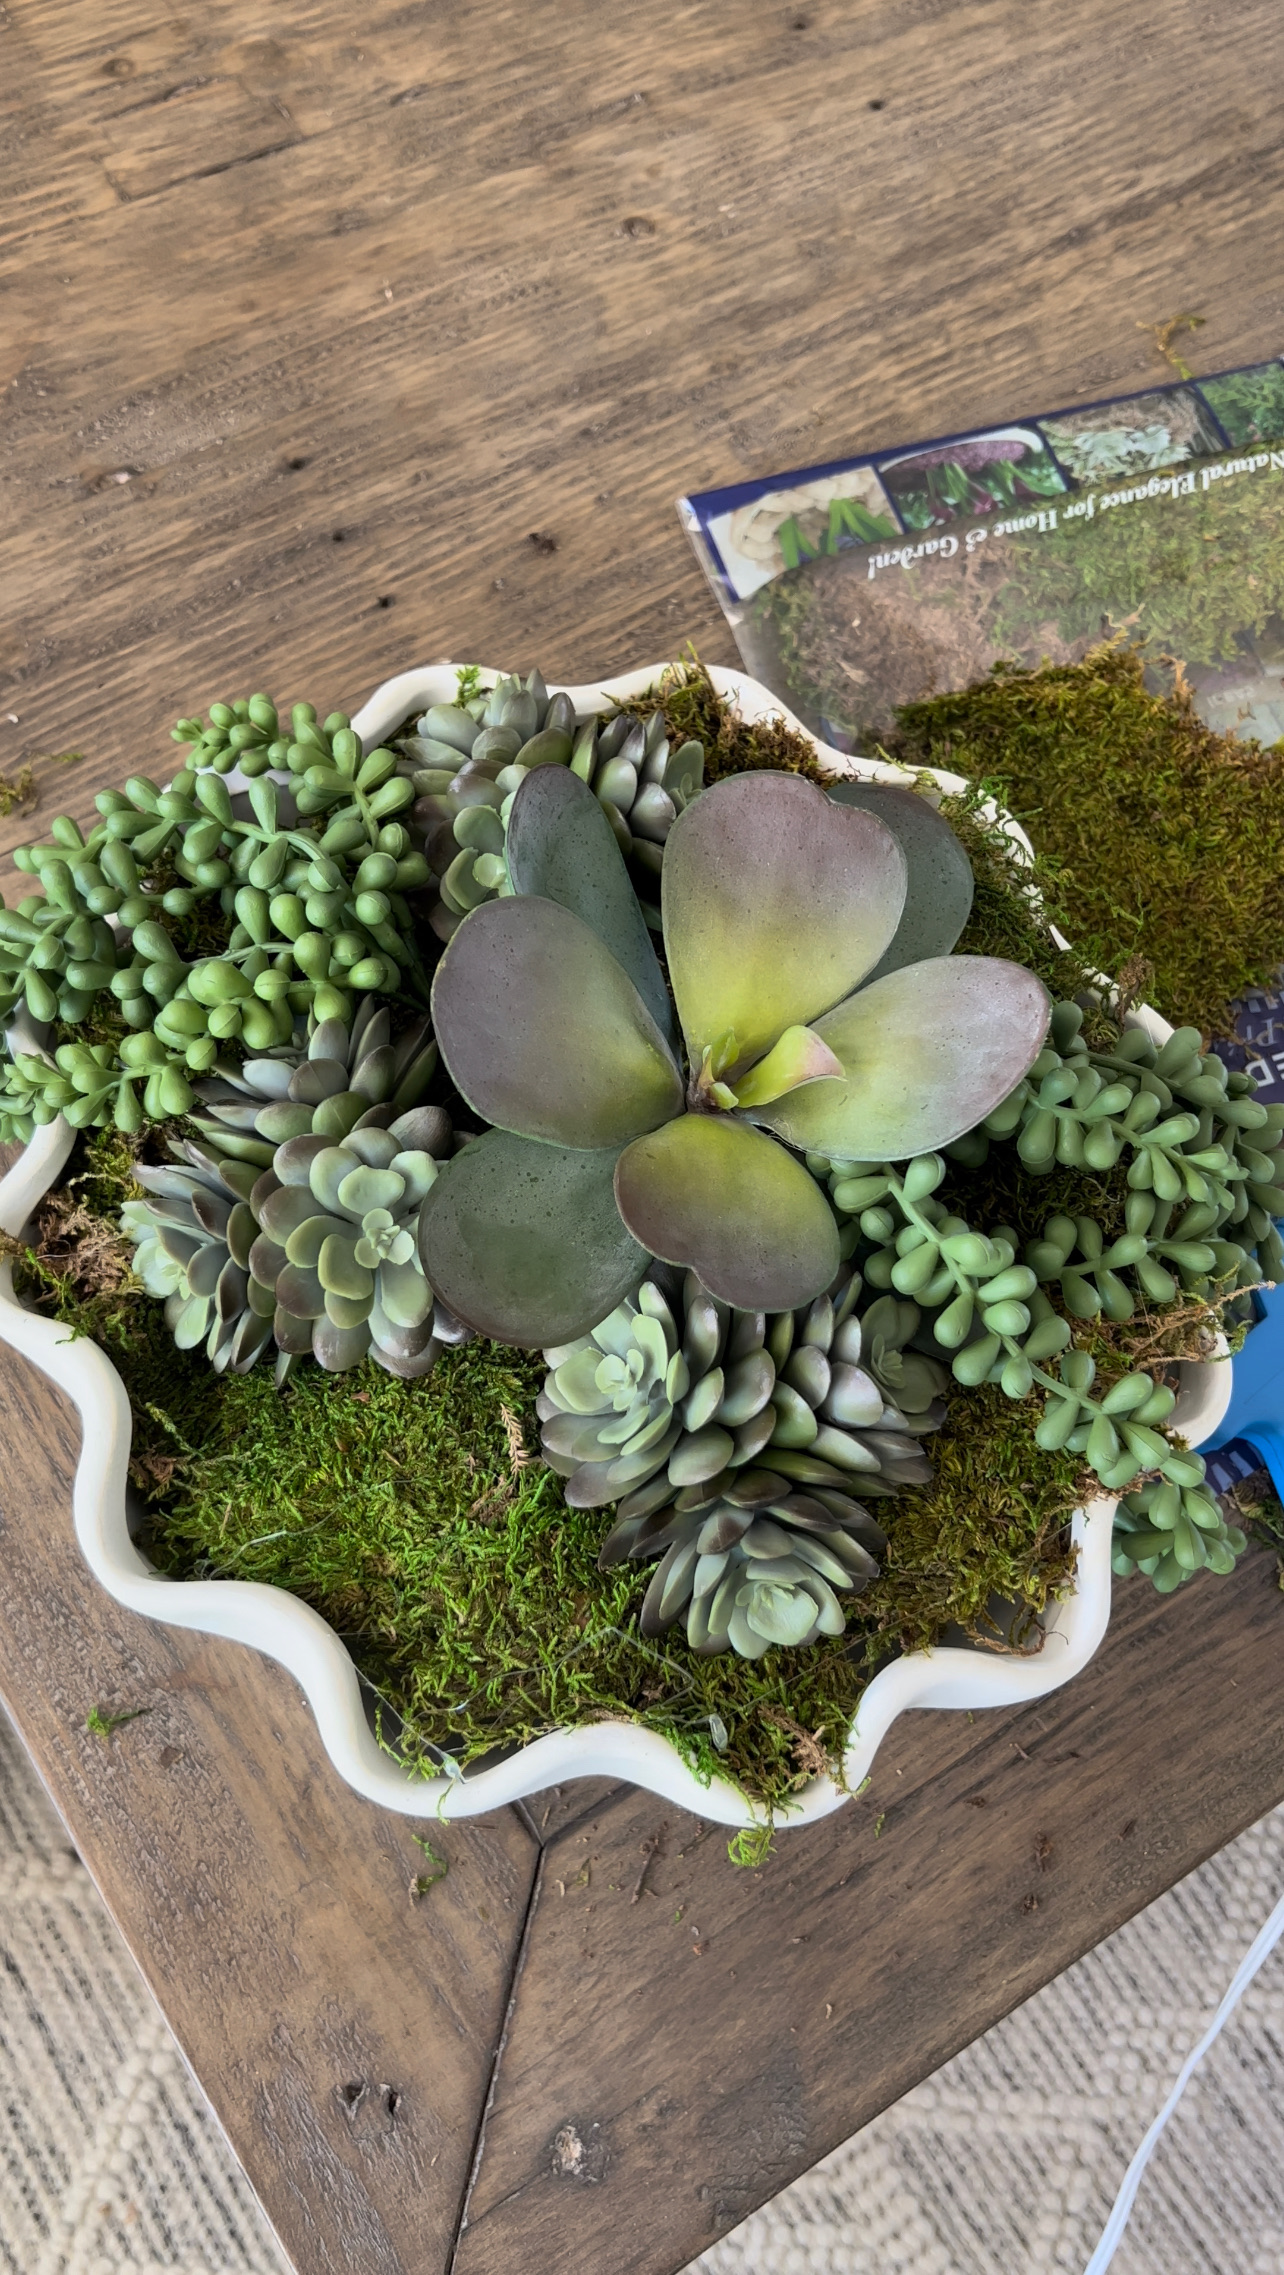
DIY Planter Centerpiece
G E T T H E L O O K . . . JavaScript is currently disabled in this browser. Reactivate it to view this content. It’s been awhile since I did a DIY project and I decided I wanted to do a fun one for a centerpiece out on the patio! You could also…

Easy DIY Fall Wreath
Cooler weather always gets me in the mood for some crafting! On the blog today, I’ll show you how to make this easy DIY fall wreath perfect for fall decor! *This post contains affiliate links, thanks for your support in keeping Remington Ranch up and running! Here’s what you need to make your wreath: 18…

DIY Front Porch Wooden Planters
When we first moved into our new home, I was on the lookout for some wooden planters to put on our front porch. Well, the sticker shock quickly hit as I saw how expensive they are! So my hubby and I decided to make our own and I just love how they turned out! Today…

Easy DIY Fireplace Makeover
Although our fireplace isn’t old, we had always wanted white mortar to make the brick pop. Unfortunately we had a miscommunication with our builder in thinking he knew to use white mortar but instead a basic gray was used. I didn’t want to paint over all our pretty brick to get that “pop” we wanted…

Prepping for Patio Season
The snow has finally melted & I’m so excited to finally start prepping for patio season! Last year we did some pretty big projects with the help of Lowe’s & I’m so ready to start enjoying these spaces again this year. Lowe’s SpringFest is currently happening now & it’s a great time to score big…

Front Porch Topiary
I have been on the hunt for some faux topiaries for our front porch to fill our wooden planters with. I quickly realized how pricey they are especially when you need two! I found these which I loved, but was determined to find a cheaper way to make them at home! So I decided to use…

DIY Planter Centerpiece
G E T T H E L O O K . . . JavaScript is currently disabled in this browser. Reactivate it to view this content. It’s been awhile since I did a DIY project and I decided I wanted to do a fun one for a centerpiece out on the patio! You could also…

Easy DIY Fall Wreath
Cooler weather always gets me in the mood for some crafting! On the blog today, I’ll show you how to make this easy DIY fall wreath perfect for fall decor! *This post contains affiliate links, thanks for your support in keeping Remington Ranch up and running! Here’s what you need to make your wreath: 18…

DIY Front Porch Wooden Planters
When we first moved into our new home, I was on the lookout for some wooden planters to put on our front porch. Well, the sticker shock quickly hit as I saw how expensive they are! So my hubby and I decided to make our own and I just love how they turned out! Today…

Easy DIY Fireplace Makeover
Although our fireplace isn’t old, we had always wanted white mortar to make the brick pop. Unfortunately we had a miscommunication with our builder in thinking he knew to use white mortar but instead a basic gray was used. I didn’t want to paint over all our pretty brick to get that “pop” we wanted…

Prepping for Patio Season
The snow has finally melted & I’m so excited to finally start prepping for patio season! Last year we did some pretty big projects with the help of Lowe’s & I’m so ready to start enjoying these spaces again this year. Lowe’s SpringFest is currently happening now & it’s a great time to score big…

Front Porch Topiary
I have been on the hunt for some faux topiaries for our front porch to fill our wooden planters with. I quickly realized how pricey they are especially when you need two! I found these which I loved, but was determined to find a cheaper way to make them at home! So I decided to use…

DIY Planter Centerpiece
G E T T H E L O O K . . . JavaScript is currently disabled in this browser. Reactivate it to view this content. It’s been awhile since I did a DIY project and I decided I wanted to do a fun one for a centerpiece out on the patio! You could also…

